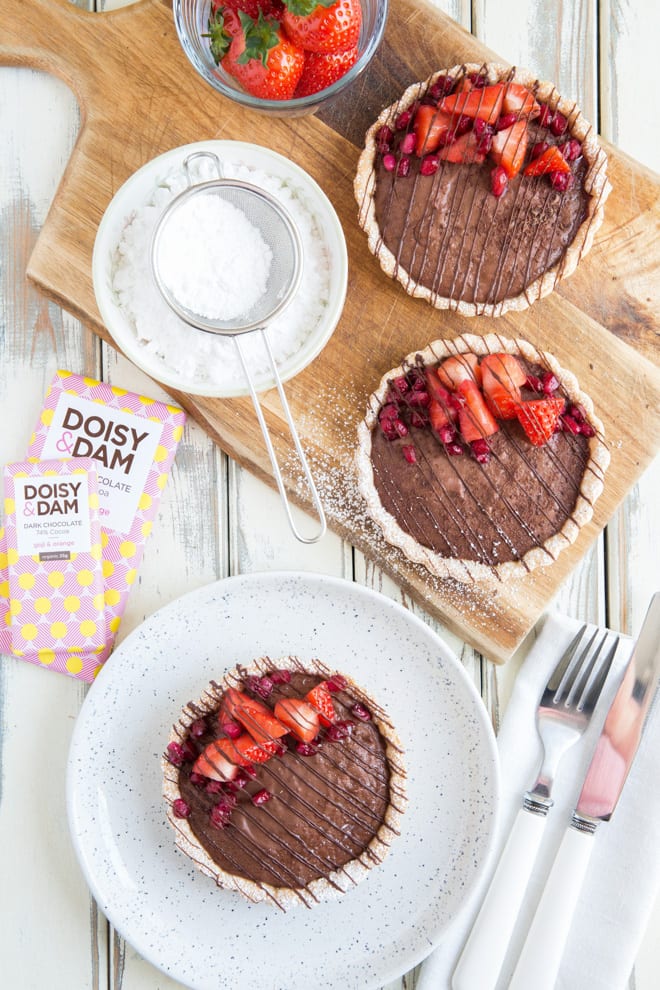
Chocolate Custard Tarts
Prep: 30 mins | Cook: 25 mins | Total: 55 mins | Quantity: 6 tarts
Ingredients
Pastry:
- 2 cups (250g) plain flour
- 2/3 cup (110g) vegan butter – diced into smallish cubes
- 2 tblsp golden caster sugar
- 4-5 tblsp cold water – measure this into a jug so you can easily add into your dough
Custard:
- 1 + 1/2 cups (330ml) unsweetened almond milk
- 1 can (400ml) coconut milk (see note 3)
- 4 tblsp cornflour
- 1/4 cup (40g) golden caster sugar
- 1 x 80g bar Doisy and Dam Goji and Orange – broken into pieces
Instructions
- Start with the pastry - put the flour and diced butter into a large bowl. Using just your fingertips 'rub' the butter into the flour, breaking it into smaller pieces until you have a mixture that resembles sand or breadcrumbs
- Stir in the sugar then add around half the cold water, bringing the mixture together with your hands. Add more water as needed until you have a smooth dough. Wrap in foil or cling film and put in the fridge for 30 minutes
- Unwrap the dough and roll out on a lightly floured surface. Over 2 - 3 rolls turn the pastry, dusting underneath and the top as needed to stop it sticking
- Roll out to a large rectangle just a few millimetres thick
- Using something larger than your tart tins as a template, lay onto your pastry and use a sharp knife to cut round it (see note 1). Get as many circles as you can out of the first roll of the pastry
- Carefully lift the pastry into the tin, draping over the sides and push into the tin so that all the sides are covered. Use a knife or roll over the top of the tin with a rolling pin to remove the excess overhanging pastry
- Re-roll the pastry, cut and line the tins till you have all 6 tins done
- Prick the base a few times with a fork and put the tins onto a tray or a couple of trays depending on the size
- Put the tins in the freezer for 30 minutes. Alternatively, chill for 15 minutes then blind bake in a preheated oven 180 Fan / 200 C / 400 F / Gas 6
- If you're baking from chilled cook them for 20 minutes until golden and crisp
- If you're baking from frozen cook them for 25 minutes until golden and crisp
- Remove from the oven when cooked and set aside to cool while you make the custard (see note 2)
- Pour 1 cup (220 ml) of the almond milk and the white part of the coconut milk (see note 3) into a medium saucepan
- Bring to a simmer over a medium heat
- Into a small bowl or mug put the other 1/2 cup (110 ml) of almond milk and whisk in the cornflour until you have a smooth, thick paste
- When the milks are just about boiling reduce the heat then whisk in the sugar then the cornflour mixture
- Whisk continuously for just a few moments until you have a thick custard
- Remove from the heat and whisk in the chocolate. It may make your custard look lumpy but there are lumpy bits in the Doisy & Dam chocolate!
- Spoon or pour evenly into your 6 tart bases
- Leave to cool slightly before putting in the fridge to cool and set completely - around an hour
- To serve you can top with grated chocolate, a cluster of fresh fruits or drizzle with melted chocolate
Notes
- I used 5 inch (12 cm) tart tins and used a 6 + 1/2 inch (17cm) side plate as the template to cut round
- Don't be tempted to save time and make the custard while the tart bases are cooking - it may set too much to pour evenly and develop a skin!
- When you open a tin of coconut milk it's usually separated into a thick white part and a cloudy watery part. You only want the thick white part for this recipe. The cloudy watery part is great in smoothies and soups though!
Recipe by The Cook & Him at https://thecookandhim.com/recipes/chocolate-custard-tarts/