Posted in Recipes on 22.06.2020
Cheese and Tomato Pizza Bread Tear & Share
prep: 30 mins / cook: 35 mins / inactive: 1 hour 30 mins / total: 2 hours 35 mins / quantity: 12 rolls Print recipe?
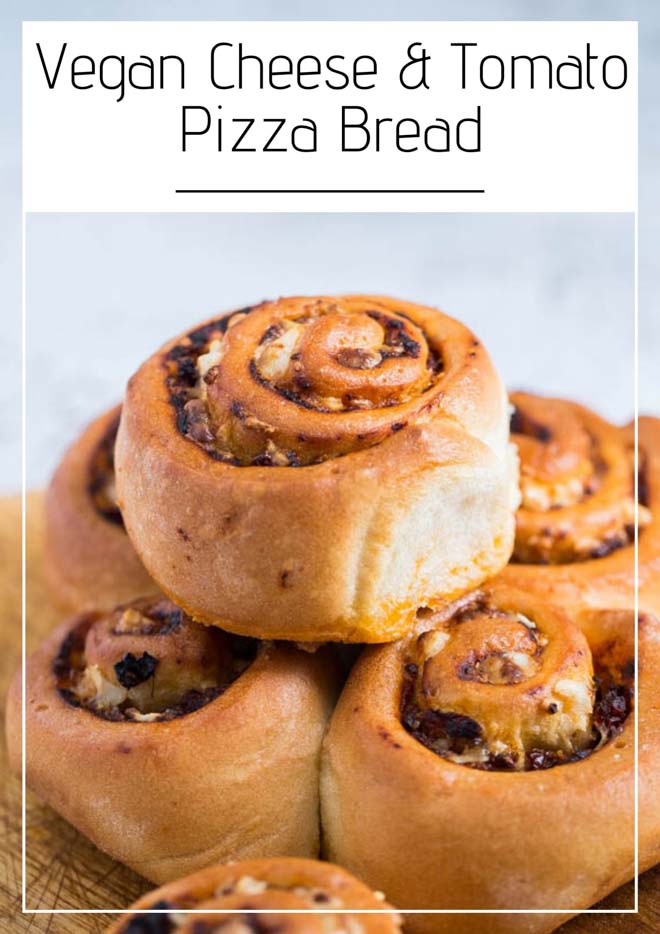
Perfect for entertaining a crowd or making for the family with a simple salad this tomato and cheese pizza bread is deceptively easy to make but totally delicious!
I am utterly in love with this pizza bread. From kneading the dough (so tactile). Then pottering in the kitchen while a warm oven does its proving thing. To the rolling and shaping and then the second best part. The smell while it bakes. Almost as good as the eating part. Almost. I talk a lot about my love of bread making. I think it harkens back to my pastry chef days where I made fresh bread every day. Yep EVERY day.
There’s something a tiny bit primal about making bread. It’s basic, honest ingredients. And the satisfaction when the dough rises and bakes to a delicious crust is disproportional. And I don’t believe there is a finer comfort food than a simple rustic loaf.
Until you make pizza bread and you add cheese. And sun dried tomatoes. And homemade pesto.
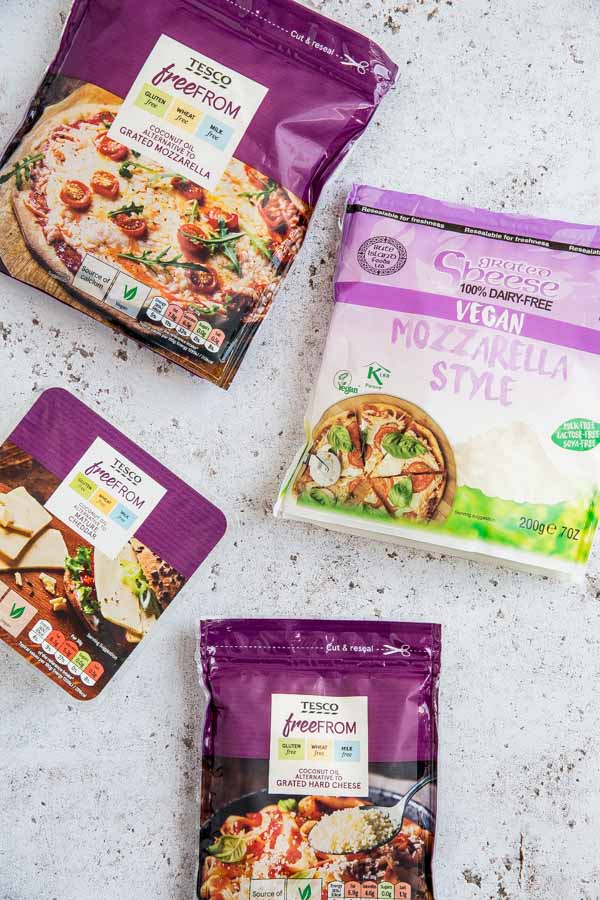
Like any half decent pizza I’ve used more than one type of cheese for this pizza bread. All vegan of course. If you can find some, vegan mozzarella is great for that iconic cheese stretch as you tear your tear and share apart. The vegan parmesan adds that tangy, salty flavour.
The sun dried tomatoes give a bit of ‘chew’ and the pesto is almost compulsory. I can’t recommend this vegan pesto recipe enough either. I literally make it weekly as it goes in everything. From a quick potato salad to smeared over a flatbread pizza base or stirred through cooked pasta and roasted veggies for a few days worth of quick lunch prep.
How to make a basic bread dough:
We have a full walk-through video right here. If you could also give the video a thumbs up and subscribe to our channel we’ll love you forever. Not in a creepy, stalker way of course. Just from over here and thankful for you being a lovely person.
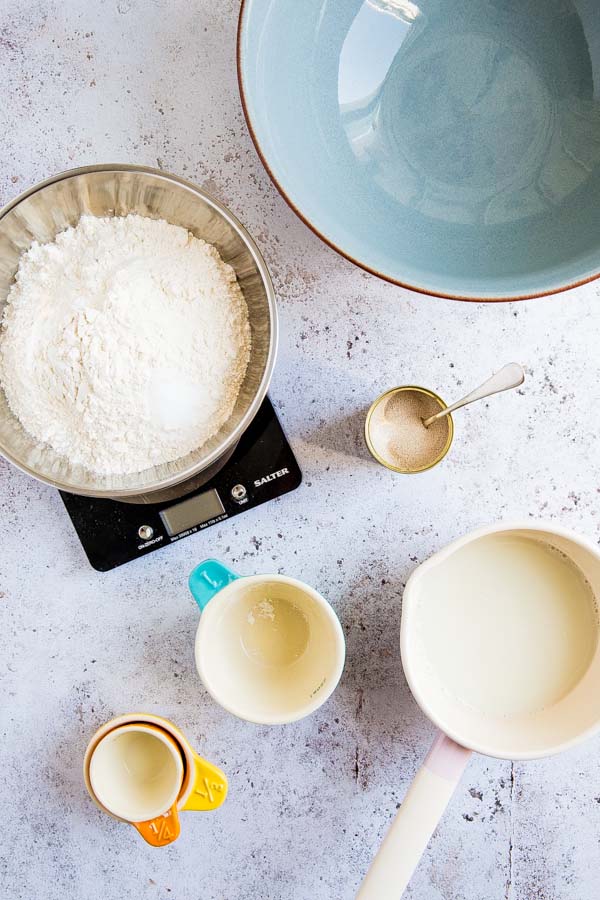
The basics of making your own bread really are quite simple. Start by warming your liquid. You want it blood temperature which just means when you put your finger in the liquid you can’t tell whether it’s warm or cold. Too cold and it takes longer for the yeast to activate. Too hot and you run the chance of killing the yeast.
Whisk the yeast into the warm, sweetened liquid (the sweet part ‘feeds’ the yeast, also helping it to get going) then leave to ferment for just a few minutes. You’ll find bubbles start to form on top of the liquid, especially if you cover it with a tea-towel.
Add the liquid to your weighed out dry ingredients. Stir to bring it together in the bowl just until it starts to form a dough then tip onto a lightly floured surface and get ready to work up a little sweat.
All flour has gluten but bread flour has extra gluten which needs to be developed (or stretched) in order to give bread it’s very unique texture. Kneading the dough is what develops the gluten. I find the best way to knead is to hold on to part of the dough with one hand then stretch the remainder of it away from you with the other. Do this for at least 5 minutes and you’ll notice the texture of the dough will change. It will start to become soft, silky and even more stretchy.
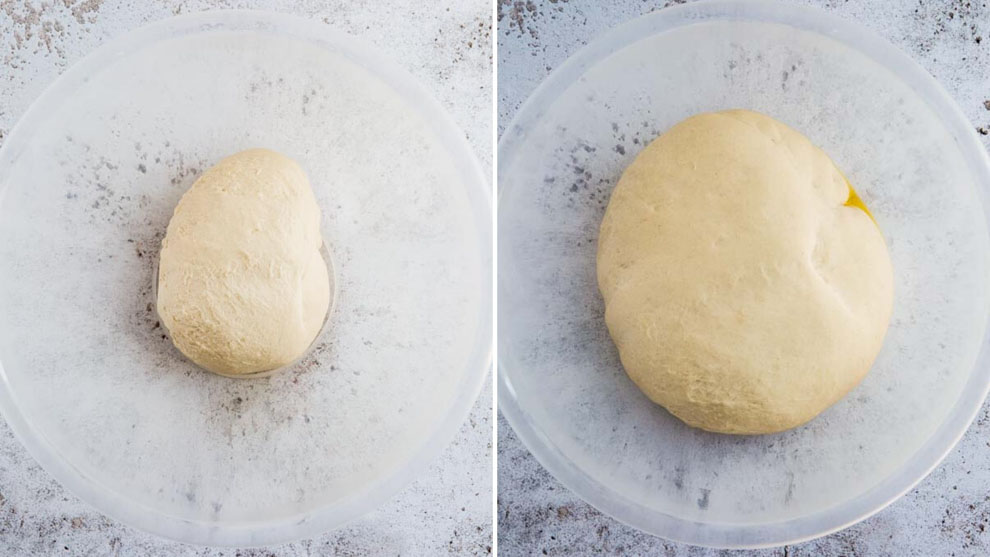
Once you get to that part then comes the real easy part as you put the dough into a cleaned, oiled bowl and leave it somewhere warm to prove until it’s doubled in size. This can take anywhere from 30 minutes to an hour or more.
And I think this is one of the reasons people don’t look forward to making bread. It’s a looooooooooooong process. And it if doesn’t work out as it should it can feel very deflating and a huge waste of time (and ingredients).
Finishing your tear and share bread:
Once your dough is risen you need to ‘knock it back’. This is far less strenuous than the first kneading and the dough will be much softer. All you’re actually doing here is bashing out any giant air bubbles in your dough so you get a lovely even texture.
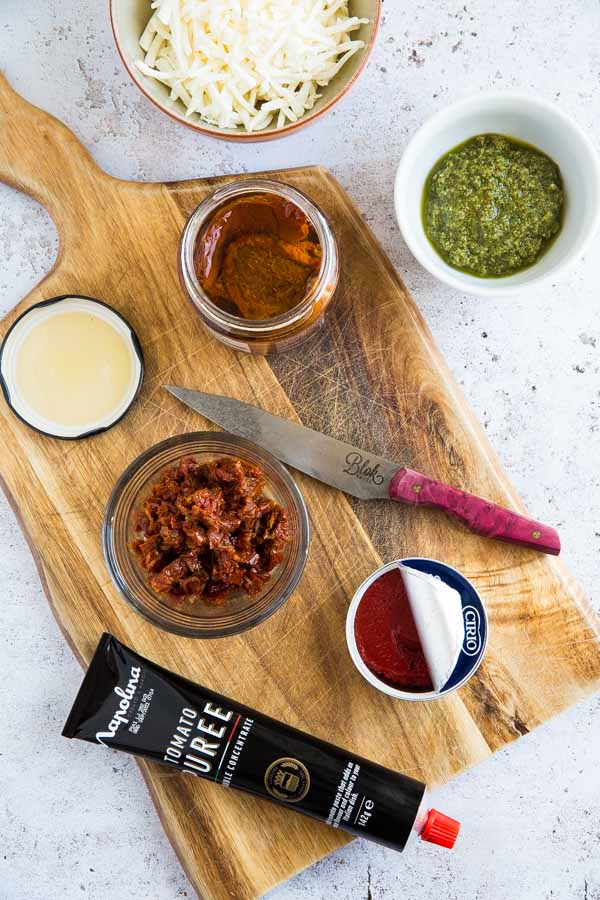
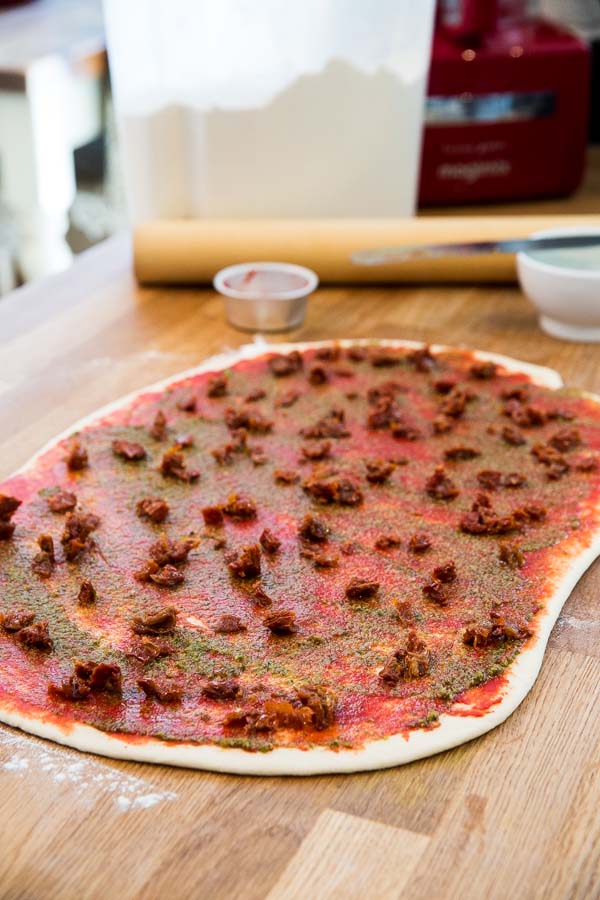
For this pizza bread the knocking back comes by rolling out the dough – into a large rectangle. Which you then smother with tomato puree and pesto and dot with sun dried tomatoes.
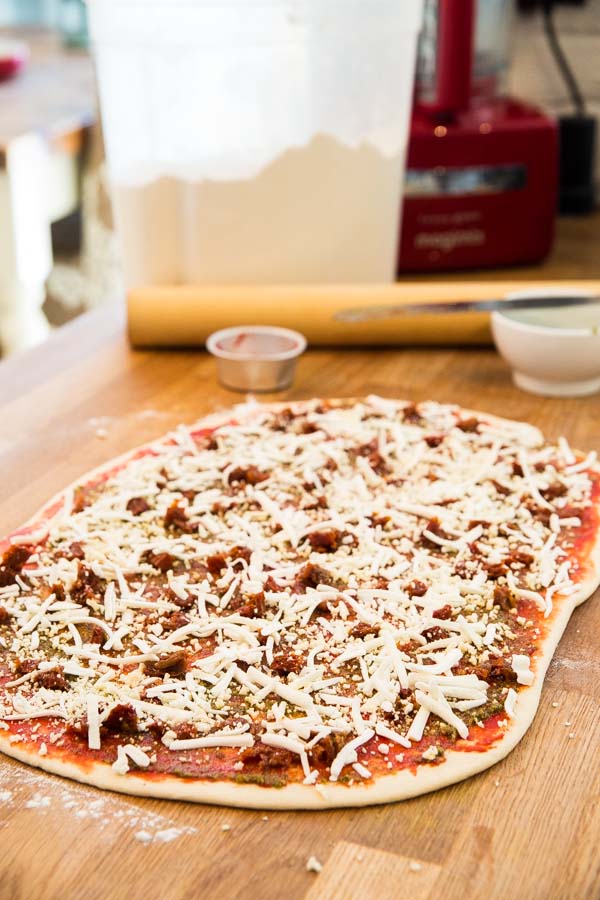
Then comes the cheese. And lots of it. No point skimping now right?
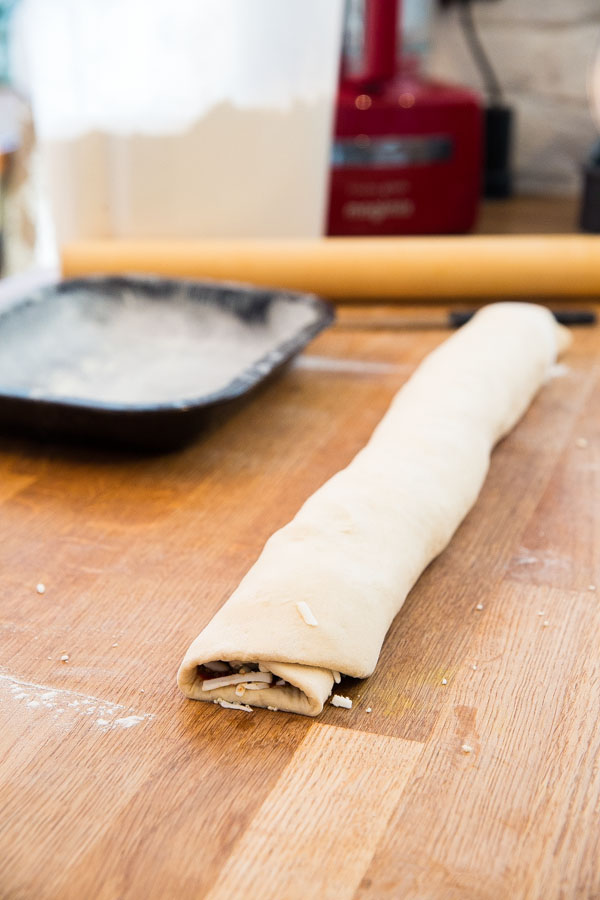
Now for the fun bit – the rolling and cutting. Roll the dough into a long swiss roll and measure halfway along, scoring a faint line with the back of a sharp knife. Measure again, scoring each half in half. Then measure one final time, scoring each 1/4 into 3 equal pieces. This will give 12 slices in total.
Use the sharp knife to cut along your score marks then put each slice cut side up into your baking dish. I’ve used both a greased and floured baking tin for this and a parchment lined china dish. Either works.
Then you leave it somewhere warm to prove one last time – again until doubled in size.
Once it’s proved pop into a hot oven until all golden and gooey and try and restrain yourself from eating it as it literally comes out of the oven. A burnt chin doesn’t suit anyone. Trust me.
Don’t forget to follow us on YouTube, Facebook or Pinterest for even more recipe inspiration and chat, competitions, behind the scenes and so much more!
Cheese and Tomato Pizza Bread Tear & Share
prep: 30 mins / cook: 35 mins / inactive: 1 hour 30 mins / total: 2 hours 35 mins / quantity: 12 rolls
Ingredients
Dough:
- 1/2 cup (125ml) water
- 3/4 cup (180ml) unsweetened non-dairy milk
- 1 tsp sugar (caster, granulated, agave or maple syrup all work)
- 2 + 1/2 tsp (7g sachet) active dried yeast
- 2 + 3/4 (400g) cups strong white bread flour
- 1/2 tsp salt
Filling:
- 2-3 tblsp tomato puree
- 2-3 tblsp vegan pesto
- 1/2 cup (80g) sun dried tomatoes – roughly chopped
- 1/2 cup (100g) vegan mozzarella
- 2-3 tblsp vegan parmesan
Instructions
- To make the dough warm the water, milk and sugar in a small pan until just blood temperature - this means when you put your finger in the liquid you can't tell if it's hot or cold! It only takes a few seconds so keep your eye on it
- Remove from the heat, whisk in the yeast, cover with a t-towel and leave for 5 minutes until bubbles form on the top
- Put the flour and salt into a large bowl and stir together then pour in the warm yeast liquid, stirring everything together until it forms a dough
- Tip onto a floured work surface and knead for at least 5 minutes until soft and elastic. If the dough is too sticky simply knead in a little more flour
- Shape the dough into a ball then put into a clean, oiled bowl, cover with a tea-towel and leave somewhere warm to prove until doubled in size - this can take anywhere from 30 minutes to an hour or more
- Tip the well risen dough back onto a floured work surface then dust the top of the dough and using a rolling pin, roll the dough out to a large rectangle 19 x 12 inches (49 x 30 cm)
- Spread the tomato puree across the surface of the rolled out dough all the way to the edges then do the same with the pesto
- Sprinkle over the chopped sun dried tomatoes then the mozzarella then the parmesan
- Roll up from the longest end to a swiss roll shape
- Measure and score the dough into 12 equal pieces by marking the dough half way, then each half in half, then each quarter into three then use a sharp knife to cut along the score lines
- Lay each slice cut side up into a greased and floured or parchment lined tin or dish, spacing reasonably close together - as they prove you'll want them to touch each other so that they have to be pulled apart once baked
- Cover with a tea-towel and again leave somewhere warm to prove until roughly doubled in size
- When they're almost finished proving, heat your oven to 180 Fan / 200 C / 400 F / Gas 6
- Remove the tea-towel and bake the rolls for 35-40 minutes until golden. Leave to cool in the tin for 10 minutes before lifting onto a wire rack to cool completely
- Best eaten the same day or store in an airtight container at room temperature


Hello there! I’m Sam, former Michelin star pastry chef and now your go-to vegan foodie on a mission to make plant-based eating a deliciously easy adventure! From cozy comfort foods to vibrant salads and decadent desserts, there’s something for everyone in my kitchen.
Whether you’re cooking for one or for a houseful I believe food doesn’t have to be complicated to be full of FLAVOUR and I want to show you how. I’ve been a rigorous meal planner for over a decade whilst embracing seasonal ingredients (because that’s where the real flavour is!)
I’m also a dedicated dog mum to Nooch and Baxter and enjoy cooking them homemade treats (many of which are posted here) when I’m not screaming at the tennis or devouring fantasy fiction.
Latest recipes
Latest posts
All things spring - bright, fresh vegan meals and baked treats!
Configure your search
and I would like to see...
Or search for a recipe or post by keyword


