Posted in Recipes on 13.11.2018
Spiced Chocolate Orange Twists
prep: 20 mins / cook: 20 mins / inactive: 2 hours 0 mins / total: 2 hours 40 mins / quantity: 2 twists Print recipe?
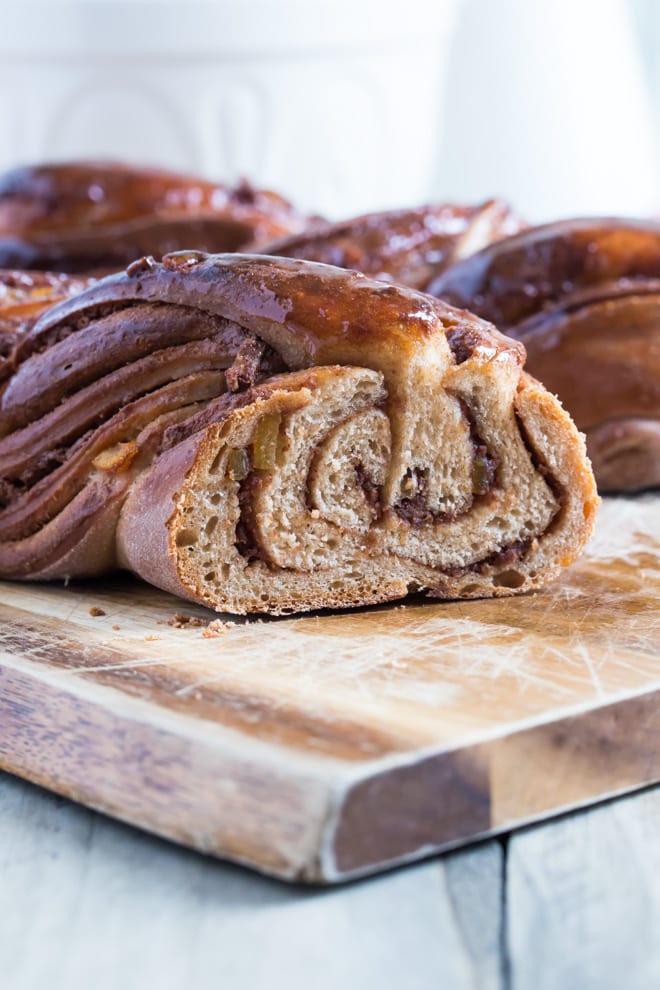
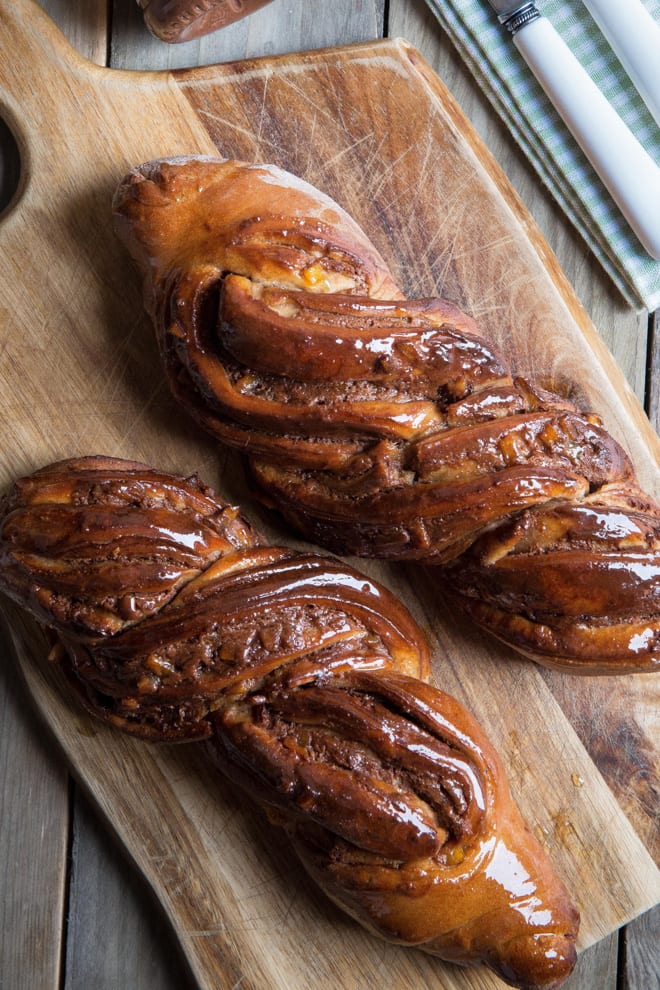
We have all the flavours of Christmas in this soft yeast dough – warming spices, chocolate nut butter and sweet sticky orange. These spiced chocolate orange twists are deliciously indulgent!
I’m also going to apologise now for this photo heavy post. The method of cutting and twisting the dough is not difficult to do but it is a little difficult to explain in just words.
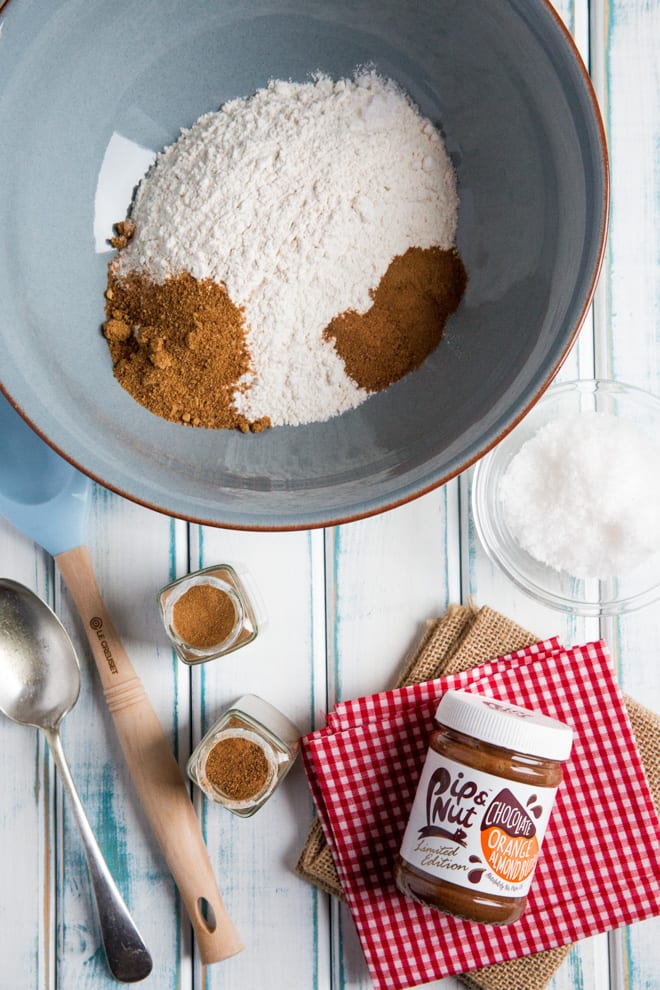
These spiced chocolate orange twists also have a couple of incarnations. The first time I made them I used the divine Pip and Nut Limited Edition Chocolate Orange Almond Butter. OMG. This stuff.
It’s like THE best chocolate orange spread you’ve ever tasted. The only problem is because it’s so flipping tasty I’ve used it all. Phooey. I did manage to eke it out enough for some Chocolate Orange Granola as well though!
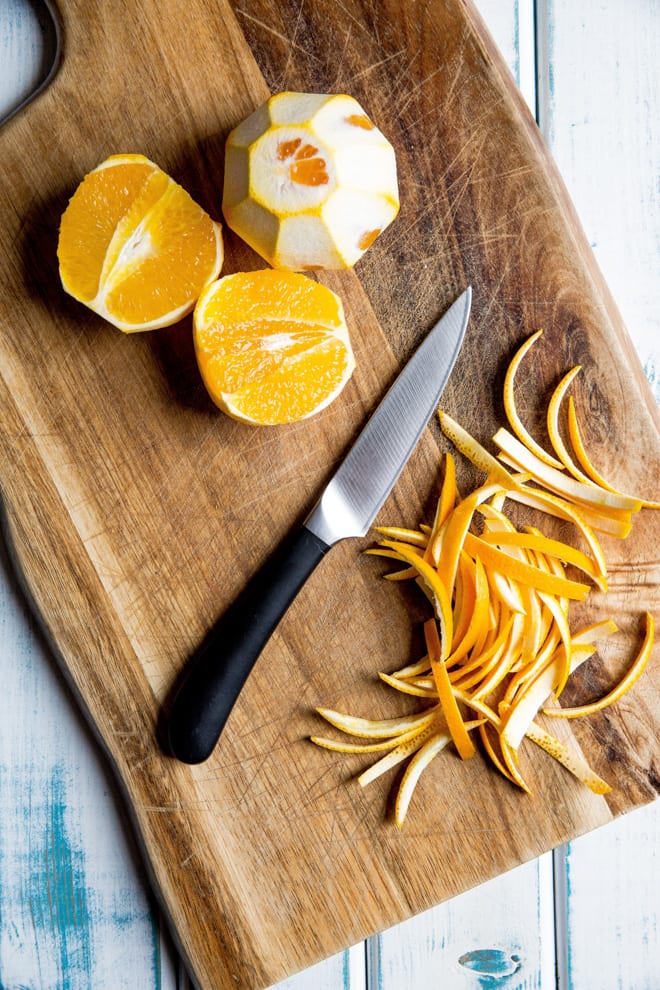
For extra sticky orange-ness I’ve used candied orange peel – which honestly isn’t anywhere near as difficult as it sounds and can be made while your dough is on its first prove.
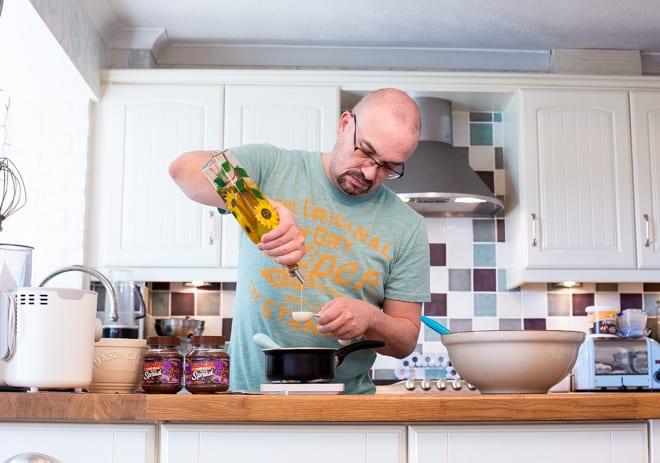
This was also a Phil tested recipe! He always takes care of Pancake Sunday and occasionally adds in a bit of weekend baking. So he made a his and hers set of twists – one using the scrapings of the jar of Pip and Nut for me and one using Grenade Carb Killa Jaffa Quake for him! It’s a protein spread a bit like Nutella but comes in a range of flavours.
Ok .. on to explaining the dough twisting. It’s simple but effective and can be used for sweet and savoury – I’ve made a similar bread using sage pesto for the ‘filling’.
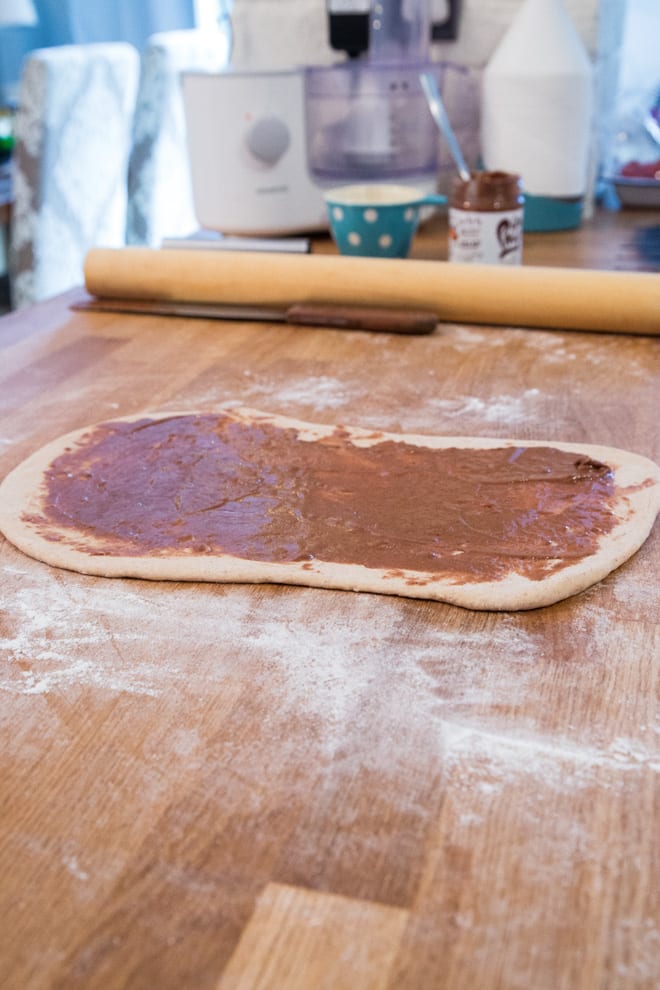
Once you’ve proved the dough once, simply ‘knock back’, divide in half and roll one piece into a large rectangle. Knocking the dough back gives a better final crumb and helps eliminate any giant air pockets. The dough is stretchy and elastic so it’s not like rolling pastry – it WILL want to shrink back on itself. Just keep rolling outwards, stretching a little with your hands as well if you feel comfortable doing that, until it’s large enough. I got mine to around 9 x 14 inches (24 x 35 cm)
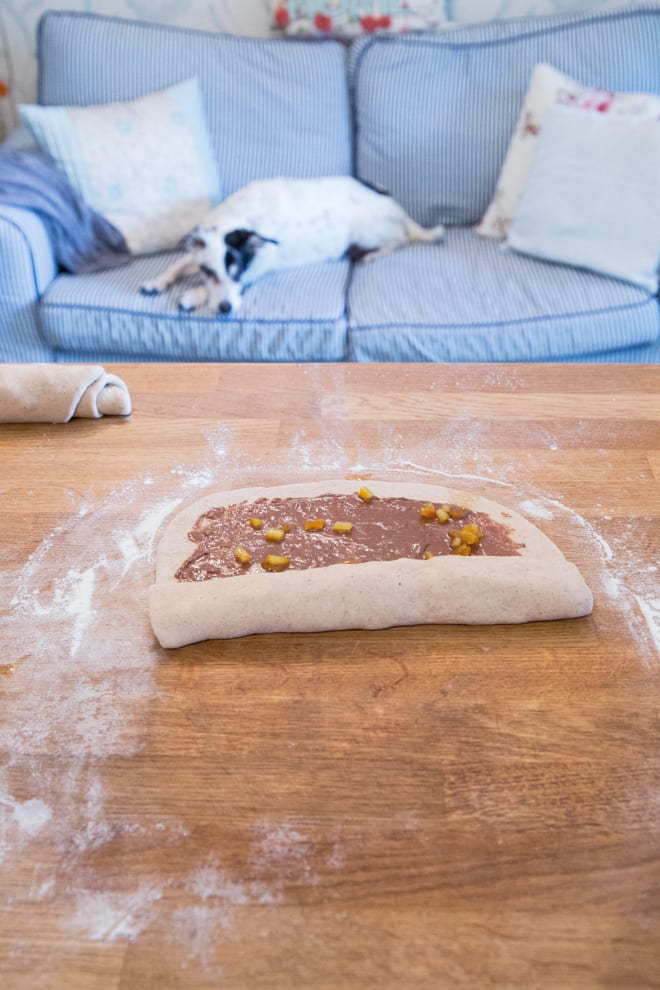
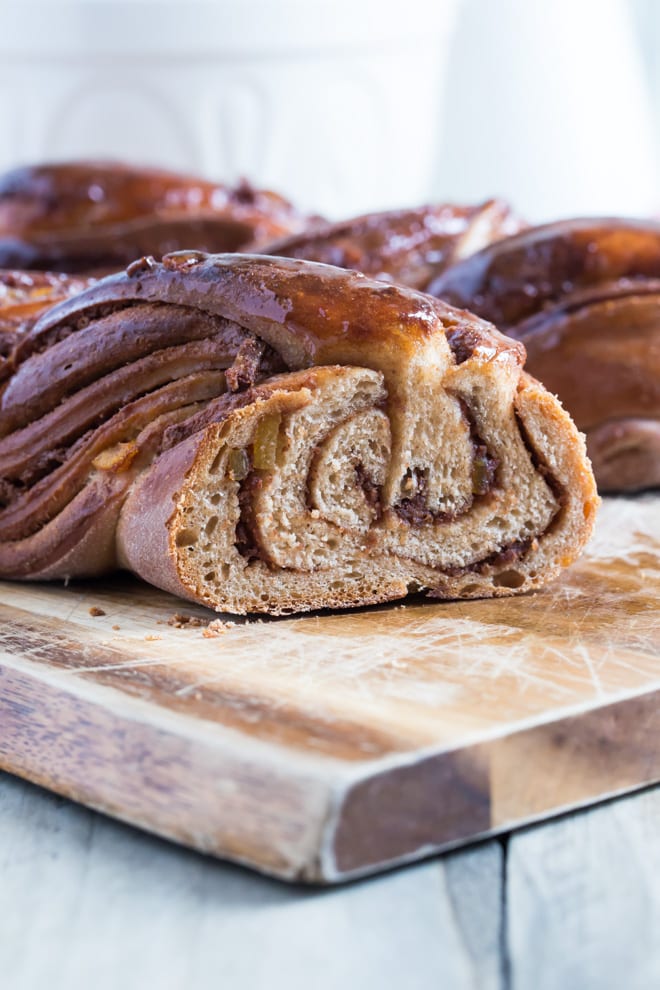
This is where the sticky fun begins! Spread half the nut butter over the dough, going out almost to the edges. Sprinkle half the candied orange over the top of the nut butter then roll up from the short end like you would a swiss roll cake.
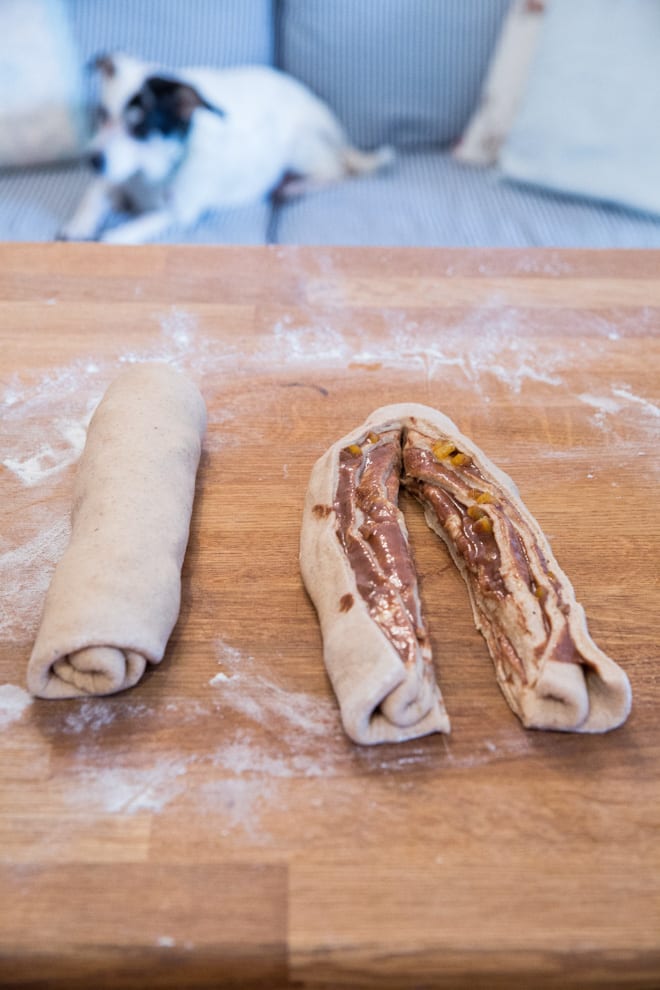
Once you have a tube like roll, put it to once side and repeat with the other piece of dough – rolling out, spreading, sprinkling, rolling up. And voila, two dough swiss roll thingies!!
Take one and place it lengthways away from you. Take a SHARP knife and about an inch from the top end cut down through the dough to make two ‘pigtails’ that are still attached at the top. I make several light cuts rather than one cut through the dough at once as it’s quite oozy and I find it easier to cut in several stages.
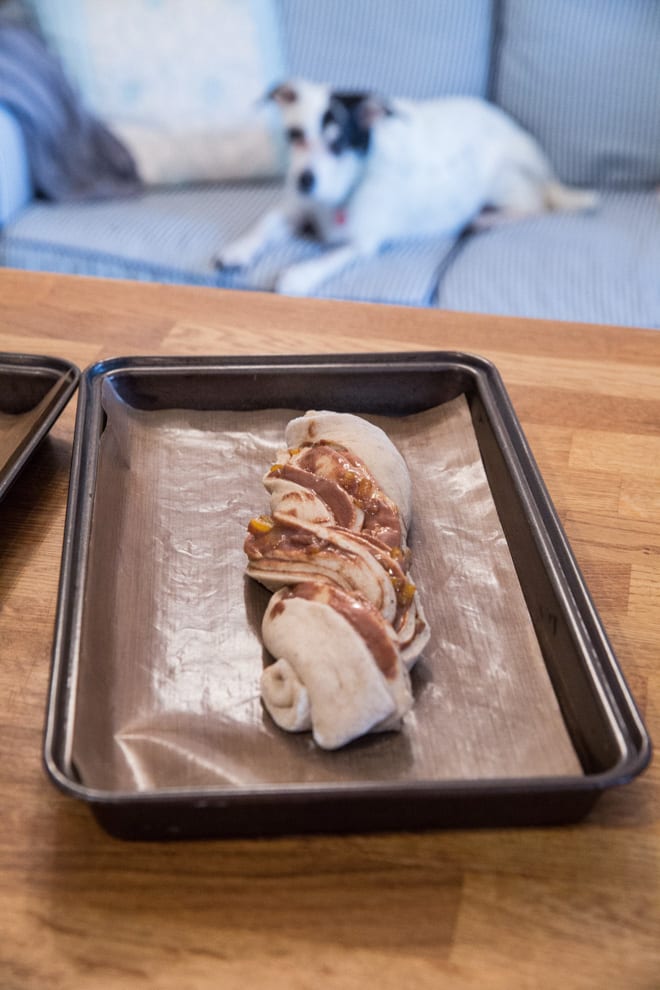
Then you take one of the two pieces and lay over the other piece, repeating this a couple of times until you have a twist. Press the two dough pieces together at the bottom and lay onto a baking tray. Do the same with the other swiss roll of dough.
From then it’s just another prove before baking and your house smelling of the most divine chocolate orange nuttyness! These spiced chocolate orange twists are an absolute favourite in our house now and open to SO many other flavour combination possibilities!!
If you make this recipe or any of the recipes from The Cook & Him we’d LOVE to see! Just snap a picture and share it on Instagram using #thecookandhim and tagging @thecookandhim in the photo itself (as this guarantees we’ll see your picture!
And don’t forget to follow us on Instagram , Facebook or Twitter for even more recipe inspiration and chat, competitions, behind the scenes and so much more!
Spiced Chocolate Orange Twists
prep: 20 mins / cook: 20 mins / inactive: 2 hours 0 mins / total: 2 hours 40 mins / quantity: 2 twists
Ingredients
Dough:
- 2 + 1/4 cups (340g) strong white bread flour
- 2 tblsp coconut sugar
- 1 tsp salt
- 2 tsp ground cinnamon
- 1 tsp ground nutmeg
- 1 cup (230ml) unsweetened almond milk
- 1 tsp olive oil
- 1 x 7g sachet fast action dried yeast
4 tblsp Pip and Nut Chocolate Orange or Grenada Jaffa Quake
Candied Oranges:
- 2 oranges
- 1/2 cup coconut sugar
Instructions
- In a large bowl put the flour, sugar, salt, cinnamon and nutmeg and stir together
- In a small saucepan put the milk and oil and very gently heat. This only takes a few seconds - you want it warm enough so that when you put your finger into the liquid you can't tell if it's hot or cold (this is known as blood temperature). When it's just at blood temperature whisk in the yeast
- Pour the liquid into the bowl of dry ingredients and stir together to form a dough
- Tip out onto a floured work surface and knead vigorously for a good 5-10 minutes. You want to stretch the dough by holding one end of the dough in one hand and using the other hand push and stretch the dough away from you. This develops the gluten in the flour, giving the dough its elasticity - which allows the bread to rise and develop those iconic little air pockets
- Once you've finished kneading put the dough into a clean bowl that has been very lightly oiled. Cover with a tea-towel or piece of cling film and leave in a warm place to rise until doubled in size. This can take anything from 30 minutes to 2 hours dependent on ambient temperature!
- While that's proving make the candied orange. Using a very sharp knife cut a disc off the top and bottom of the orange and stand upright. Run the knife from the top to the bottom, cutting the skin and some of the white pith off but none (or as little as possible) of the flesh
- Slice those pieces into long strips and put into a small saucepan with 1 cup (230ml) water. Boil gently for 20 minutes then add the sugar and boil for a further 10 minutes until the liquid is reduced and syrupy. Set aside to cool
- Once cool, lift the strips out of the syrup (KEEP the syrup!) and cut into small pieces. Set aside
- Once the dough has doubled in size tip out of the bowl onto your work surface, knock back for just a minute or two then divide the dough in half
- Roll one of the pieces into a large rectangle. The dough is stretchy and elastic so it's not like rolling pastry - it WILL want to shrink back on itself. Just keep rolling outwards, stretching a little with your hands as well if you feel comfortable doing that, until it's large enough. I got mine to around 9 x 14 inches (24 x 35 cm)
- Spread half the nut butter over the dough, going out almost to the edges. Sprinkle half the candied orange over the top of the nut butter then roll up from the short end like you would a swiss roll cake.
- Once you have a tube like roll, put it to once side and repeat with the other piece of dough - rolling out, spreading, sprinkling, rolling up.
- Take one of the rolls and place it lengthways away from you. Take a SHARP knife and about an inch from the top end cut down through the dough to make two 'pigtails' that are still attached at the top. I make several light cuts rather than one cut through the dough at once as it's quite oozy and I find it easier to cut in several stages.
- Then you take one of the two pieces and lay over the other piece, repeating this a couple of times until you have a twist. Press the two dough pieces together at the bottom and lay onto a baking tray. Do the same with the other swiss roll of dough.
- Put the trays in a warm place to prove again till roughly doubled in size
- Just before they're finished proving, preheat your oven to 170 Fan / 190 C / 375 F / Gas 5 then bake the twists for 20-25 minutes until golden. Remove from the oven and immediately brush with the reserved syrup
- These are just as delicious cold as they are warm and keep for a couple of days in an airtight container. Enjoy!
Some products I used in today's post...


Some of the links above are affiliate links, which pay us a small commission for our referral at no extra cost to you! Thank you for supporting The Cook & Him.

Hello there! I’m Sam, former Michelin star pastry chef and now your go-to vegan foodie on a mission to make plant-based eating a deliciously easy adventure! From cozy comfort foods to vibrant salads and decadent desserts, there’s something for everyone in my kitchen.
Whether you’re cooking for one or for a houseful I believe food doesn’t have to be complicated to be full of FLAVOUR and I want to show you how. I’ve been a rigorous meal planner for over a decade whilst embracing seasonal ingredients (because that’s where the real flavour is!)
I’m also a dedicated dog mum to Nooch and Baxter and enjoy cooking them homemade treats (many of which are posted here) when I’m not screaming at the tennis or devouring fantasy fiction.
Latest recipes
Latest posts
All things spring - bright, fresh vegan meals and baked treats!
Configure your search
and I would like to see...
Or search for a recipe or post by keyword

