Posted in Recipes on 08.02.2018
Vegan Jaffa Cakes
prep: 30 mins / cook: 15 mins / inactive: 0 mins / total: 45 mins / quantity: 12 cakes Print recipe?
You’re probably wondering why on earth you’d bother making your own jaffa cakes. I do these things because I quite enjoy the challenge and because I’ve yet to find something that doesn’t taste better home made than something mass produced in a factory. Now don’t get me wrong, I’m not a one jaffa cake eater, I’m a one box of jaffa cakes eater. I LOVE them.
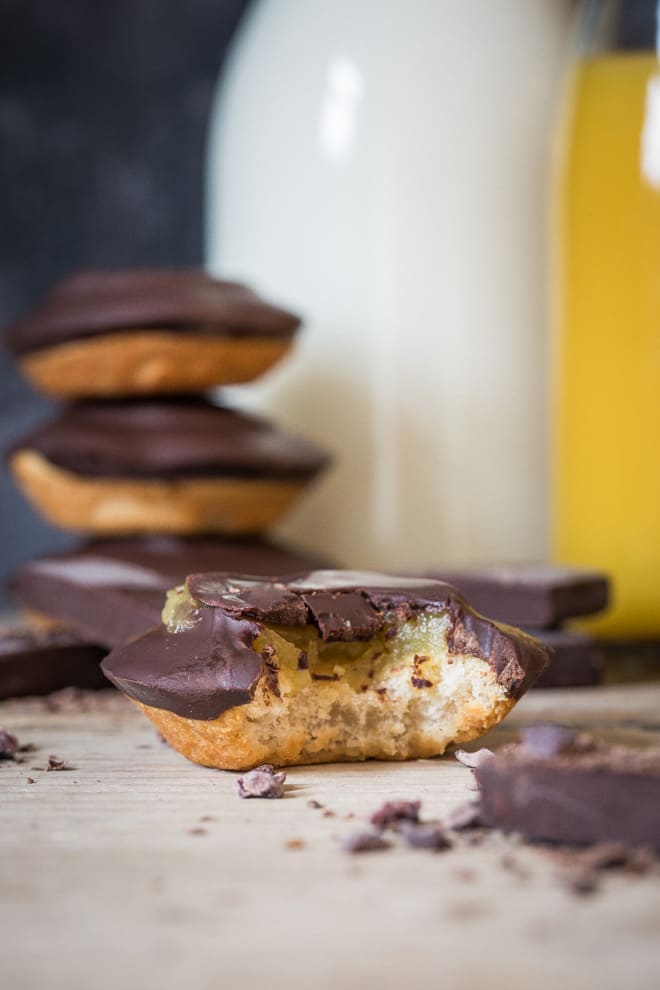
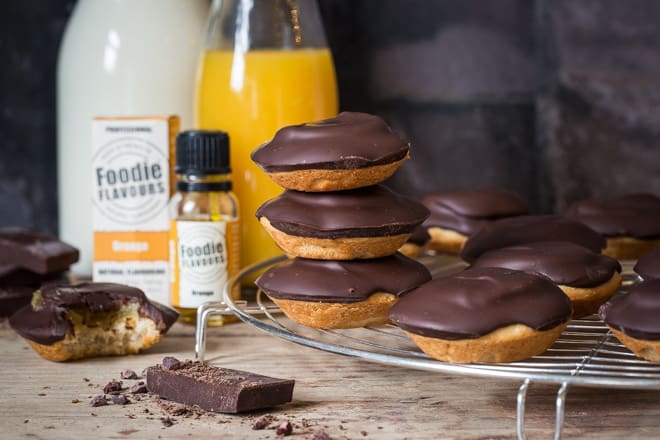
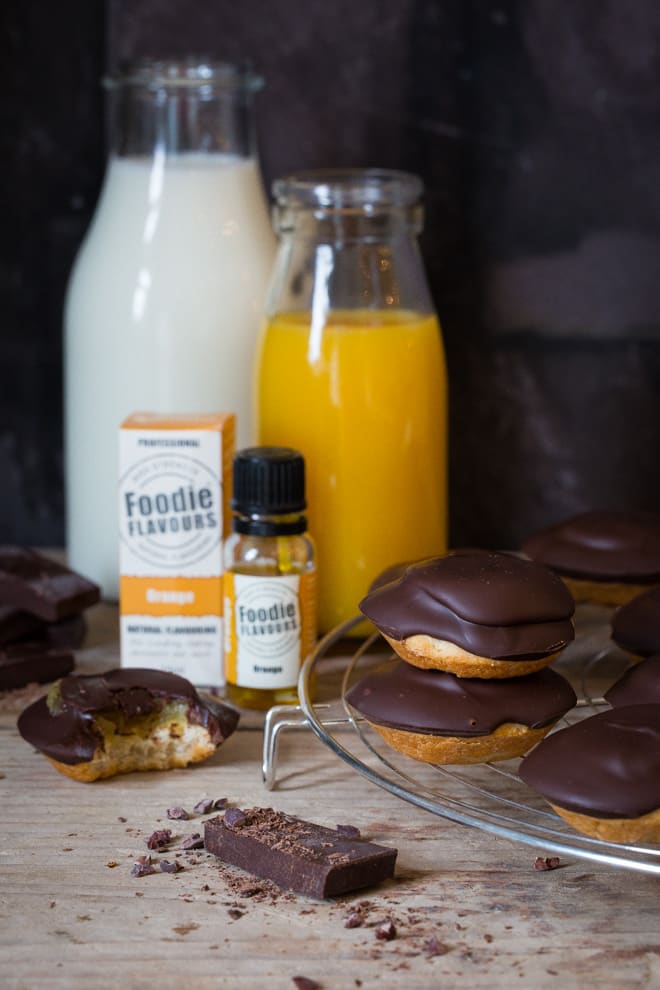
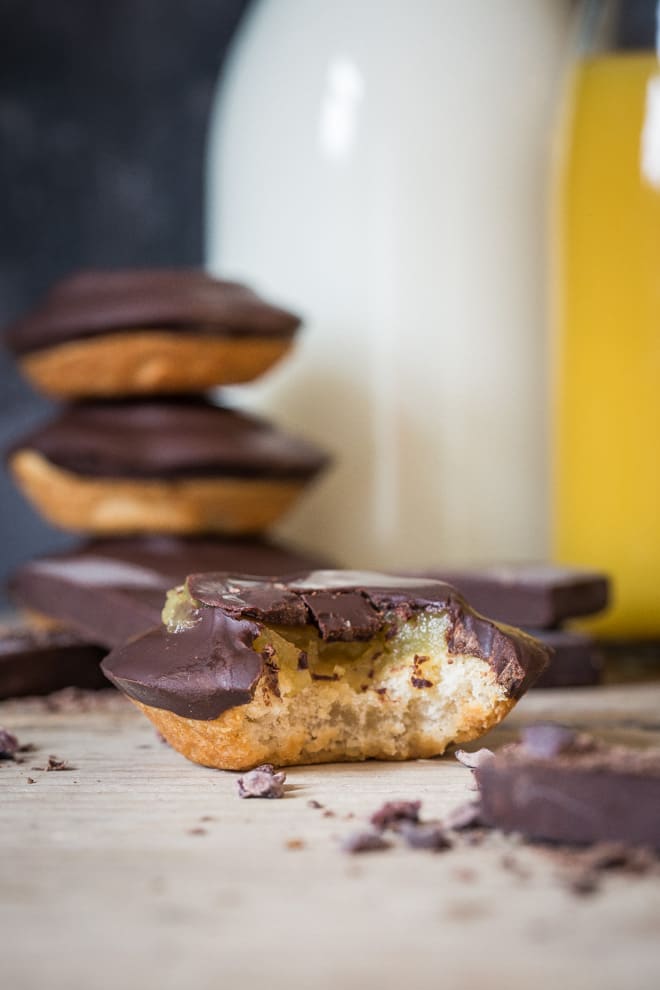
But these vegan ones are genuinely something else. Pillowy soft spongy biscuity base, a disc of tangy orange ‘jelly’ and thick, velvety smooth vegan chocolate. If there weren’t a couple secreted away in tub somewhere I’d be making them right this second. Just don’t tell Phil they’re there ?
These did take some perfecting though. Lets start with the base.
Plain sponge just wasn’t right. It wasn’t enough of a contrast of texture to the jelly bit. Biscuit was even worse – too much texture. Third attempt was pure kitchen alchemy and I was convinced it was never going to work because it was neither a dough, nor a batter. It couldn’t be rolled or poured, more sort of shaped.
Then there was the jelly. Only took two attempts (and lots of googling!) to get right! Every vegan jelly recipe I could find used agar agar. Which I didn’t have. I did have cornflour but I’d always used that to thicken sauces not make jelly! Would it make cloudy jelly? Did that matter? Would it thicken it enough to be jelly like not just orange slop?
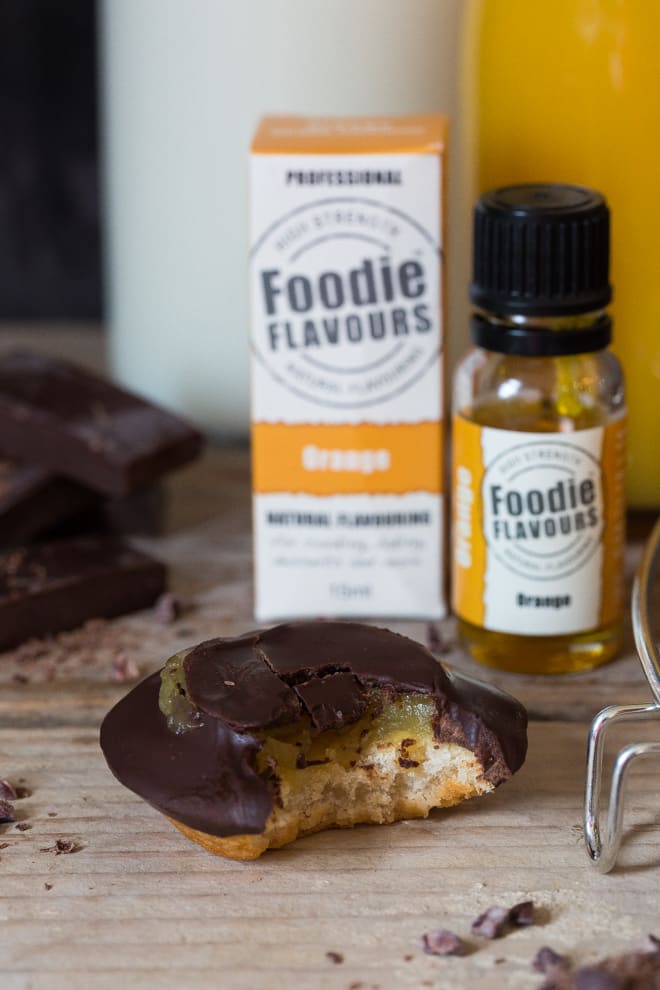
Impatience on the first batch was my downfall. I desperately wanted to taste the thing as a whole, not just its constituent parts. The base was ok-ish on its own. Not very sweet and a tad bland. The jelly flavour was great and is where Foodie Flavours Natural Orange Flavouring really came into its own. They’re a much more intense flavour than off the shelf supermarket flavourings and take this jelly to a whole new level of ‘smashing jaffa orangey bit’.
Just the thickened orange juice alone was NOWHERE even remotely close to being orangey enough. I could have added grated zest but I didn’t want the ‘bits’ in my jelly. Nooooo. I wanted smooth jelly. Bits would NOT do.
The chocolate bit was easy. Melt chocolate. Drizzle. Dance round the kitchen waiting for it to set because OHMYGODVEGANJAFFACAKES.
So if you’re STILL on the fence about making your own vegan jaffa cakes then I truly urge you to give them a try. I PROMISE they’re worth it.
If you make this recipe or any of the recipes from The Cook & Him we’d LOVE to see! Just snap a picture and share it on Instagram using #thecookandhim and tagging @thecookandhim in the photo itself (as this guarantees we’ll see your picture!
And don’t forget to follow us on Instagram , Facebook or Twitter for even more recipe inspiration and chat, competitions, behind the scenes and so much more!
Vegan Jaffa Cakes
prep: 30 mins / cook: 15 mins / inactive: 0 mins / total: 45 mins / quantity: 12 cakes
Ingredients
Jelly
- 1/2 cup + 2 tblsp orange juice (see note)
- 1/4 cup maple syrup
- 20 drops Foodie Flavours Natural Orange Flavouring
- 3 tblsp cornflour
Base
- 1/2 cup plain flour
- 1/3 cup ground almonds
- 1/2 tsp baking powder
- 3 tblsp coconut oil – melted
- 1 tblsp maple syrup
- 3 tblsp almond milk
- 100 – 150g Dairy free dark chocolate
Instructions
- I start with the jelly because that takes the longest to cool!
- Put 1/2 cup orange juice, the maple syrup and the drops of Foodie Flavours Natural Orange into a small saucepan and gently bring to the boil, whisking from time to time.
- While that's heating, in a small bowl whisk the 3 tblsp cornflour with 2 tblsp orange juice to a smooth, runny paste
- When the pan is just simmering, whisk in the cornflour mixture, still heating gently till it starts to bubble and thicken. As soon as this happens turn off the heat and set the pan aside to cool
- Preheat your oven to 160 Fan / 180 C / 350 F / Gas 4
- Using a spray oil or a little softened coconut oil grease a 12 hole cupcake tin.
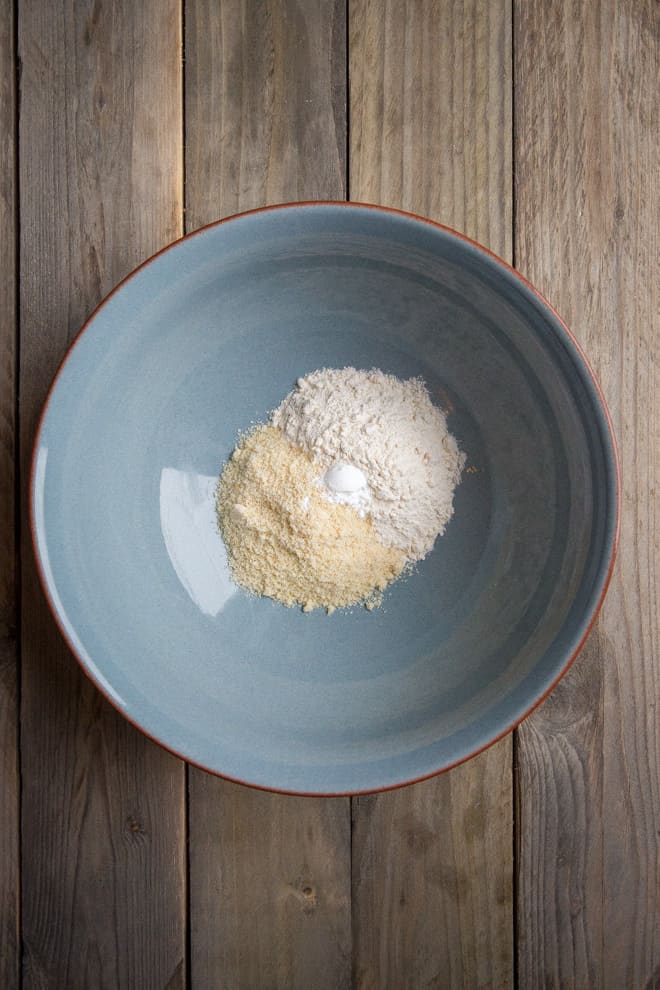
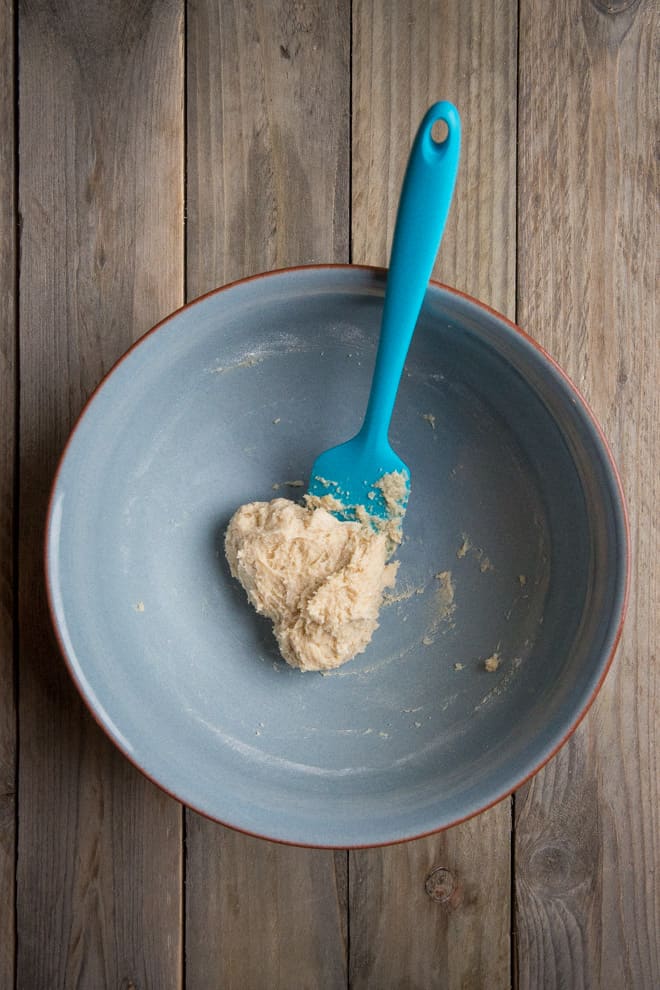
- Put the flour, ground almonds and baking powder into a bowl and give a quick stir. Mix the melted coconut oil with the maple syrup and almond milk and add to the dry ingredients, stirring well till the mixture starts to form a 'dough'
- Leave to stand for a couple of minutes as the coconut oil starts to set and lets you shape the dough.
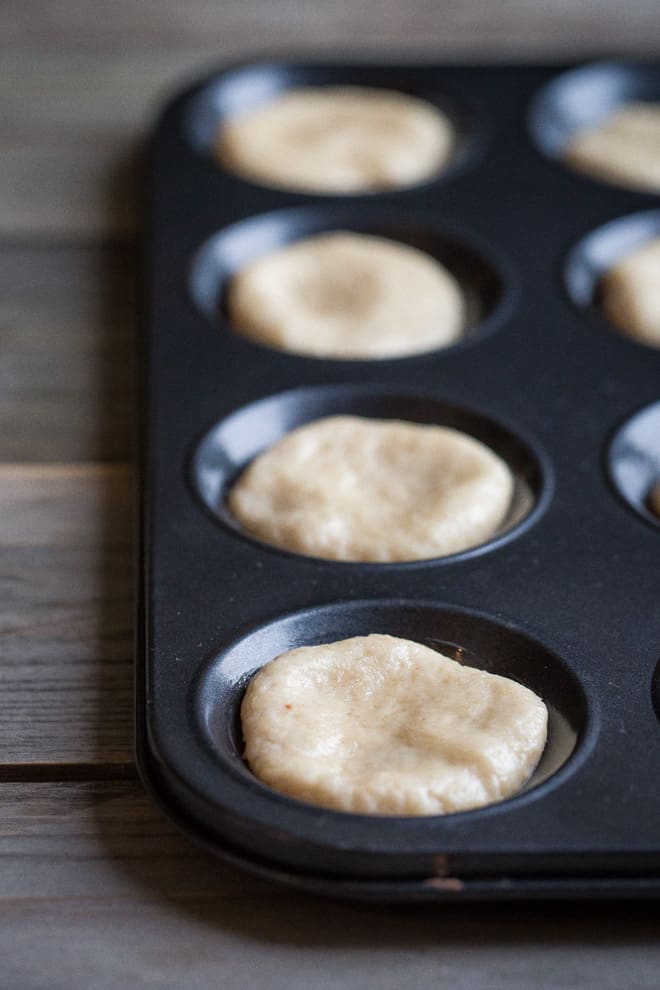
- Divide into 12 equal size pieces. I do this fairly roughly - divide the dough into 4 then each quarter into 3 blobs. Roll them in your hands then flatten slightly and pop into your greased cupcake tin
- Bake for 15 minutes till very lightly golden. As soon as they come out of the oven use the back of a teaspoon to push the centres down. You want a slight recess/concave shape not a domed base!
- Leave these in the tin to cool completely
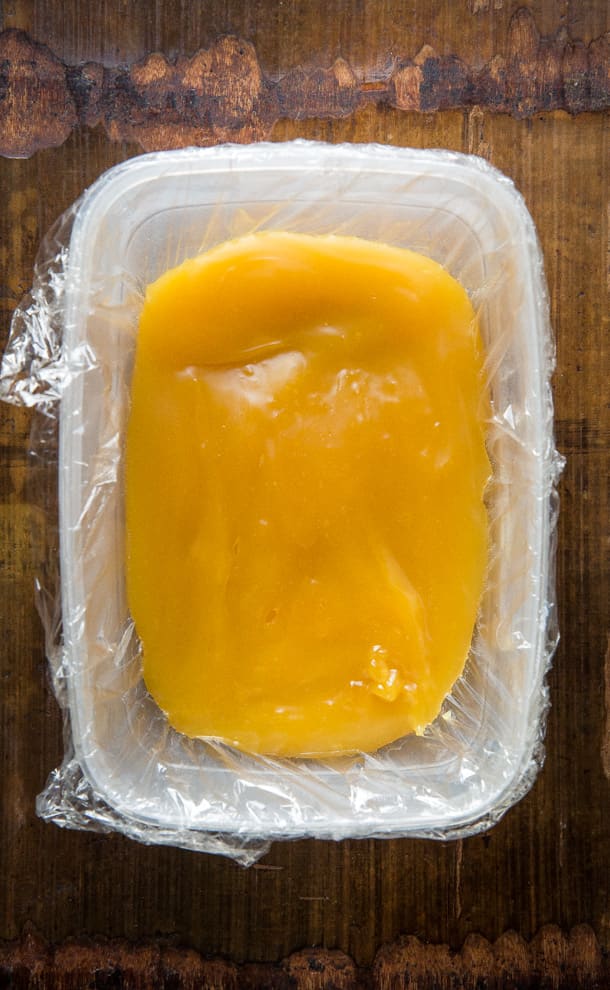
- While they're cooling line a dish or tub with cling film and pour/scrape in your cooling jelly. If it's not too hot, put in the fridge to firm up (see note*)
- Once the jelly is cold and set use a cutter to cut out little circles from your jelly. You want the cutter to be slightly smaller than the size of the base. . I used a 1 and a 1/2 inch (4cm) cutter. Gently lift the discs out and put one on each of the bases
- Melt the chocolate and just using about 1 tsp per cake drizzle the chocolate evenly over the top of the jelly, pushing it to cover the biscuit base
- Pop the whole tray in the fridge for about 10 minutes to set the chocolate
- Try not to eat the whole tray at once!!
Notes
- I used freshly juiced orange but if you have a carton of orange juice this will be fine too. Just make sure it's orange juice not concentrate or you might need to adjust the rest of the ingredients for taste!
- * You can make the jelly the day before, that gives it plenty of time to cool and set and won't make the bottom of your plastic tub warp because you tipped boiling jelly in it!
Some products I used in today's post...


Some of the links above are affiliate links, which pay us a small commission for our referral at no extra cost to you! Thank you for supporting The Cook & Him.

Hello there! I’m Sam, former Michelin star pastry chef and now your go-to vegan foodie on a mission to make plant-based eating a deliciously easy adventure! From cozy comfort foods to vibrant salads and decadent desserts, there’s something for everyone in my kitchen.
Whether you’re cooking for one or for a houseful I believe food doesn’t have to be complicated to be full of FLAVOUR and I want to show you how. I’ve been a rigorous meal planner for over a decade whilst embracing seasonal ingredients (because that’s where the real flavour is!)
I’m also a dedicated dog mum to Nooch and Baxter and enjoy cooking them homemade treats (many of which are posted here) when I’m not screaming at the tennis or devouring fantasy fiction.
Latest recipes
Latest posts
All things spring - bright, fresh vegan meals and baked treats!
Configure your search
and I would like to see...
Or search for a recipe or post by keyword

