Posted in Recipes on 14.02.2018
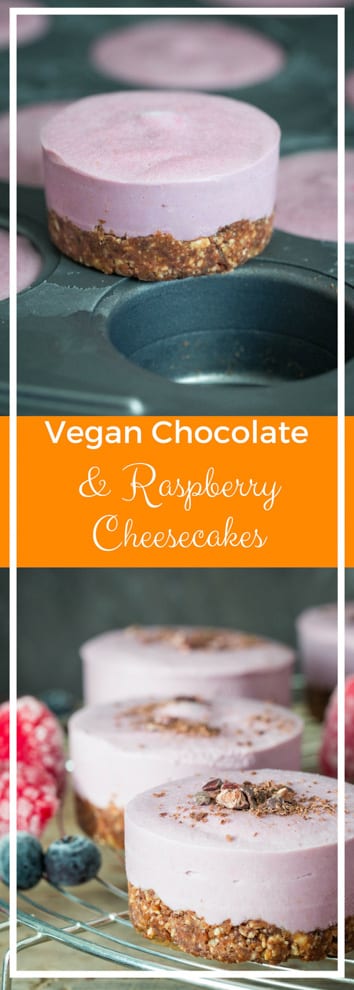
Vegan Chocolate and Raspberry Cheesecakes
prep: 1 hour 30 mins / cook: 0 mins / inactive: 0 mins / total: 1 hour 30 mins / quantity: 12 mini cheesecakes Print recipe?
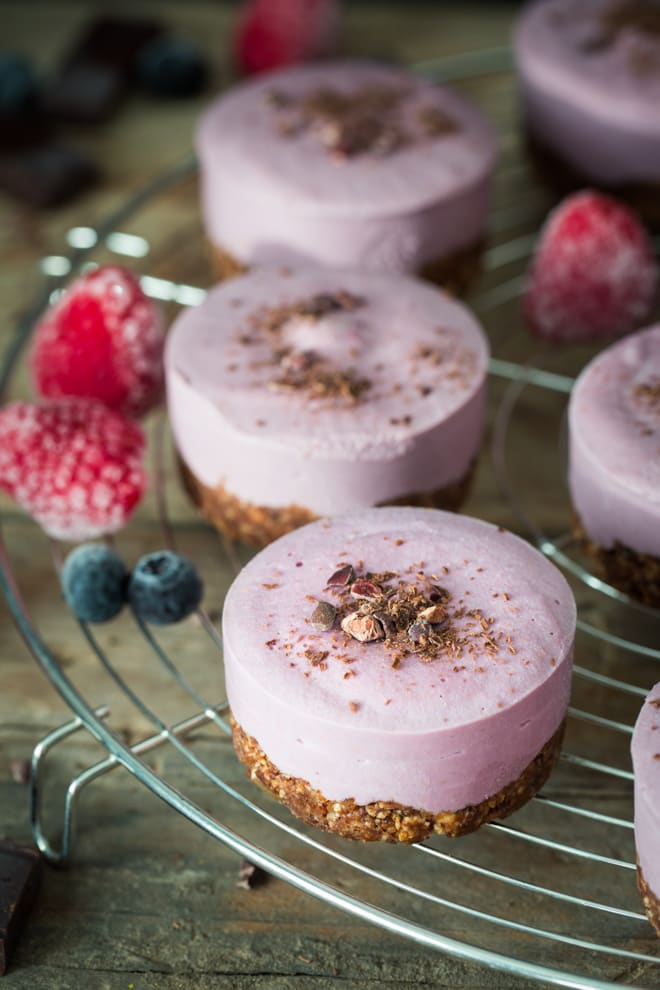
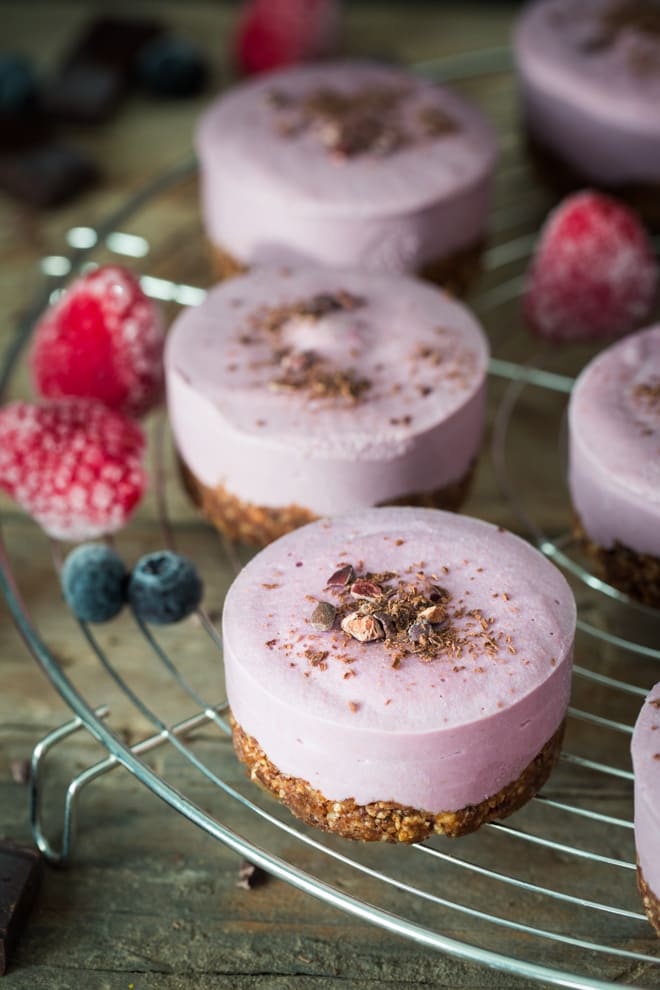
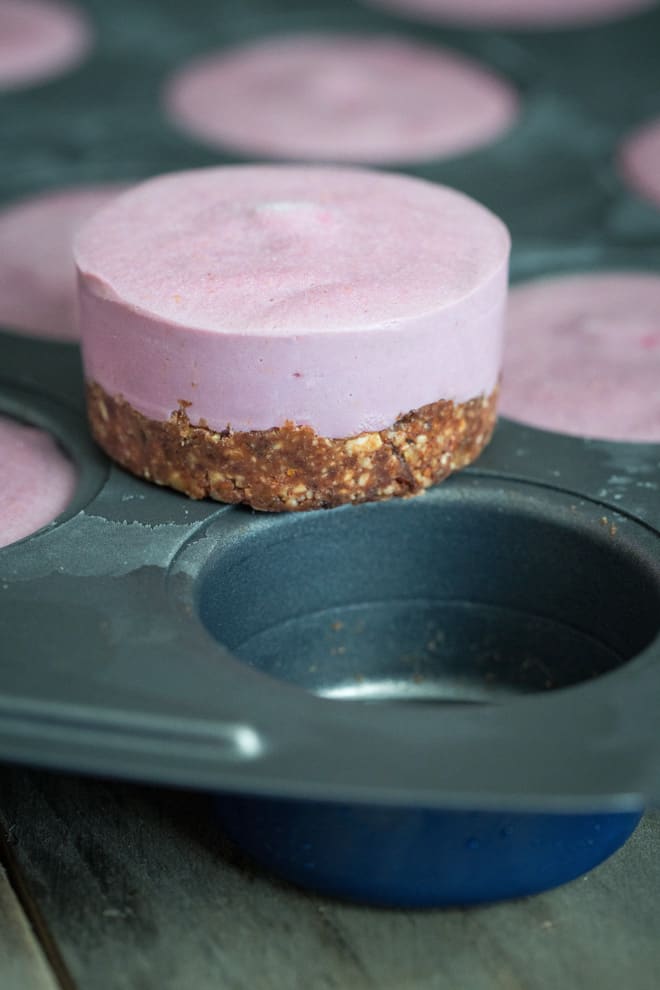
Sometimes you’ve just got to indulge a little. Go the extra mile. And these cheesecakes are seriously worth the extra bit of time they take to make. Not only are they utterly delicious, they’re also reasonably healthy and 100% vegan. And once they’re done there’s literally nothing to do to them. Other than take them out of the freezer and eat of course!
Didn’t know you could make the smoothest, creamiest ‘cheesecake’ mixture from cashew nuts? It’s actually easier than you might think!
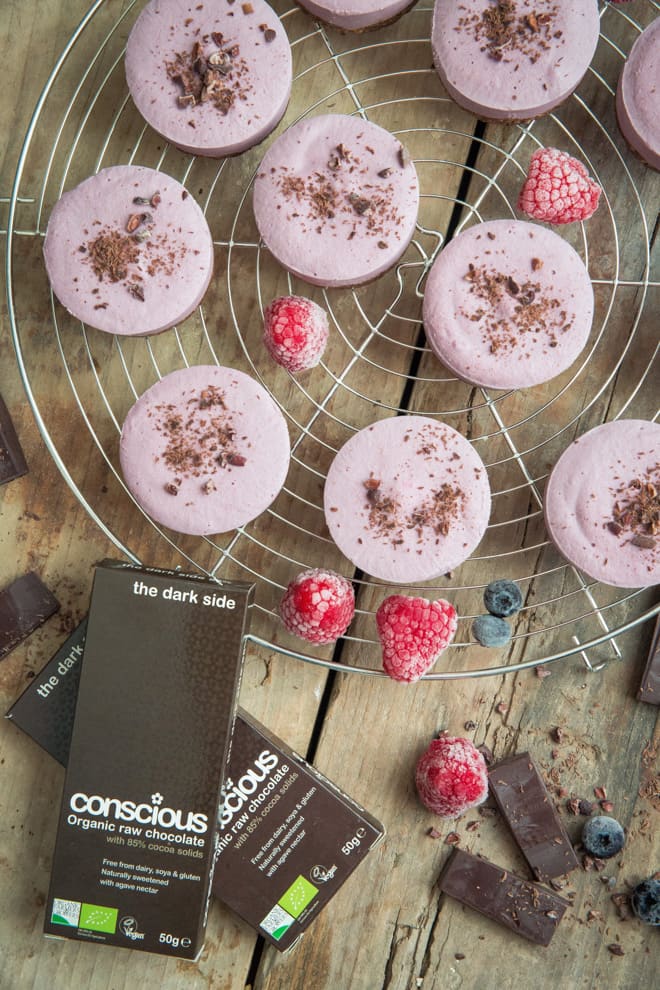
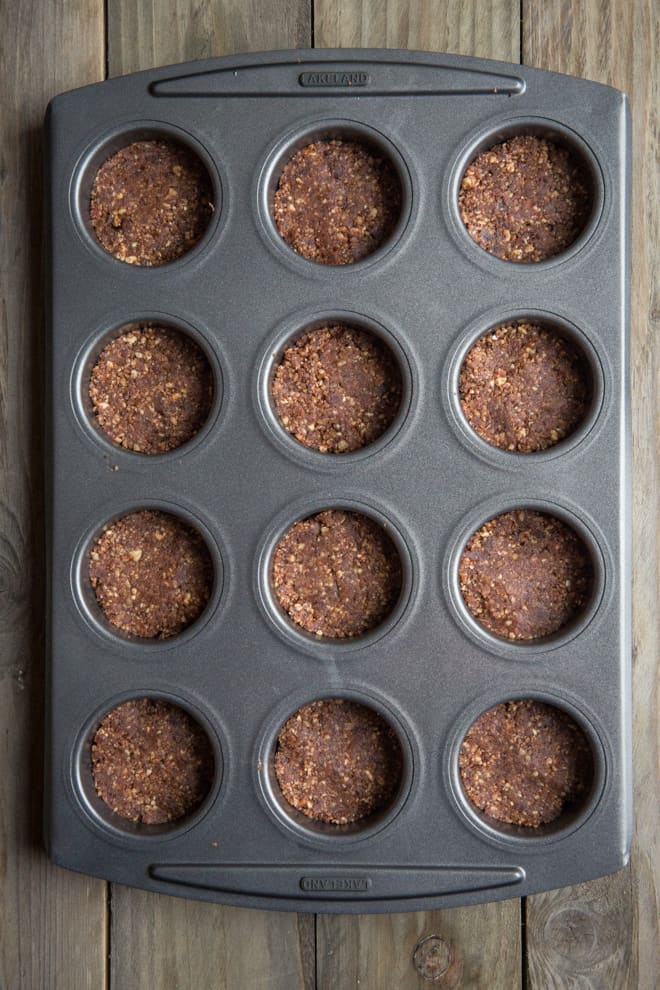
The bases are sort of like a traditional cheesecake base but instead of using crushed biscuits, here I’ve whizzed up some pecans, walnuts, dates and gorgeous Conscious Chocolate ‘The Dark Side’ for a sublime crumbly base. This chocolate is INCREDIBLE. It’s the original raw vegan chocolate and has been around since 2004. It combines premium quality and health without compromising taste. And all of their delicious vegan chocolate bars are entirely hand-made and hand-wrapped! ❤
The topping is just soaked cashews whizzed up with raspberries, almond milk, maple syrup, coconut oil and baobab powder.
If you’re super organised you can soak the cashews overnight in cold water. However, if you’re like me and not quite so super organised you can soak them in boiling water for 1 hour before you make the filling. I’ve tried both ways – the second time using the boiling water out of necessity (and a quick Google!) and I honestly couldn’t tell the difference!
Oh and if you’re wondering why the baobab powder is there it gives a wonderfully sherbet kick to the whole thing. Really bringing out the deliciously fruity flavours of the raspberries. You can also read all about baobab right here, where you’ll find heaps more ideas of how to use this amazing superfood!
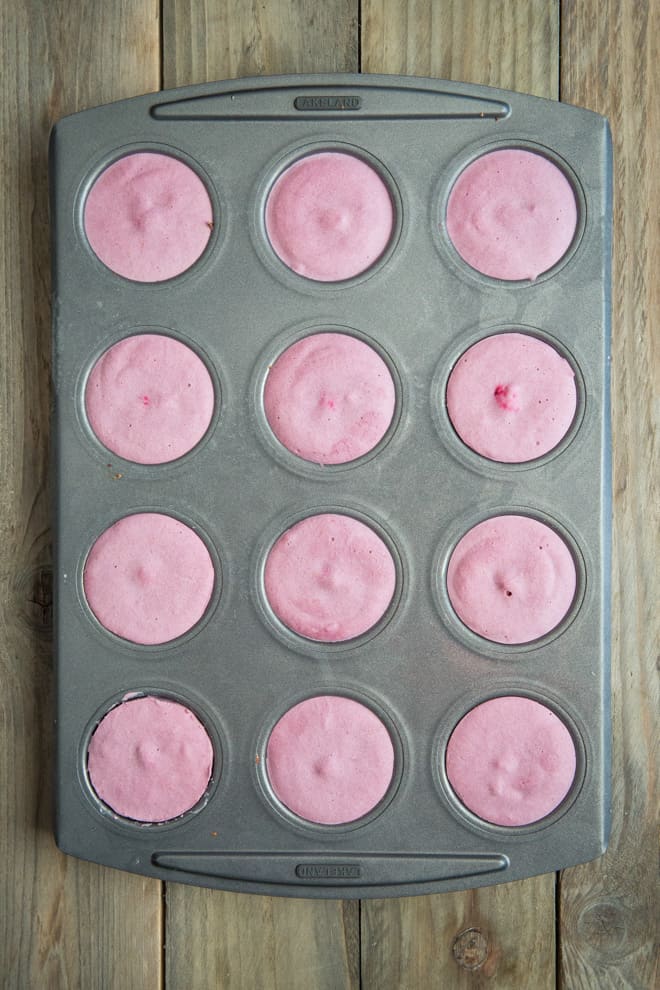
I also popped a raspberry inside the middle of each of these Vegan Chocolate and Raspberry Cheesecakes for a fruity surprise! Though now I’ve told you about it, is it still a surprise?
If you make this recipe or any of the recipes from The Cook & Him we’d LOVE to see! Just snap a picture and share it on Instagram using #thecookandhim and tagging @thecookandhim in the photo itself (as this guarantees we’ll see your picture!
And don’t forget to follow us on Instagram , Facebook or Twitter for even more recipe inspiration and chat, competitions, behind the scenes and so much more!
Vegan Chocolate and Raspberry Cheesecakes
prep: 1 hour 30 mins / cook: 0 mins / inactive: 0 mins / total: 1 hour 30 mins / quantity: 12 mini cheesecakes
Ingredients
Base
- 1 x 50g bar Conscious Chocolate ‘The Dark Side’
- 1 cup dates – stone removed
- 1 cup pecan nuts
- 1 cup walnuts
Cheesecake filling
- 1 + 1/2 cups cashew nuts (see note)
- 2 tblsp coconut oil
- 200 ml unsweetened almond milk
- 1/2 cup maple syrup
- juice 1/2 lemon
- 1 tblsp baobab powder
- 1 cup raspberries (can be fresh or frozen)
- 12 whole raspberries (optional)
- 12 hole loose based mini sandwich tin or muffin tin
- Food Processor – we use a Kenwood Compact
- Blender – we use a Nutribullet RX
Instructions
- Start by soaking the cashew nuts in boiling water. Leave to stand for an hour or overnight
- If you have a grater attachment for a food processor use that to grate the chocolate (otherwise grate by hand) then add the stoned dates and nuts to the food processor bowl. Blitz until it forms a sticky ball
- Add a splash of water if the mix feels too dry
- Divide evenly between the holes of the mini sandwich tin or muffin tin and flatten down with the back of a spoon
- Drain the cashews and tip into a blender cup with the coconut oil, maple syrup, lemon juice, baobab powder and 1 cup raspberries
- Blend until smooth and creamy
- Divide evenly into the muffin tin holes, almost filling each one. Push a whole raspberry into the middle of each one then put the tin in the freezer for an hour or so until the cheesecakes are set
- Serve straight from the freezer or allow to stand at room temperature for around half an hour to soften slightly
Notes
- If you're super organised you can soak the cashews overnight in cold water. If you're like me and not quite so super organised you can soak them in boiling water for 1 hour before you make the filling. I've tried both ways - the second time using the boiling water out of necessity (and a quick Google!) and I honestly couldn't tell the difference!
Some products I used in today's post...


Some of the links above are affiliate links, which pay us a small commission for our referral at no extra cost to you! Thank you for supporting The Cook & Him.
Leave a Comment
Leave a Reply

Hello there! I’m Sam, former Michelin star pastry chef and now your go-to vegan foodie on a mission to make plant-based eating a deliciously easy adventure! From cozy comfort foods to vibrant salads and decadent desserts, there’s something for everyone in my kitchen.
Whether you’re cooking for one or for a houseful I believe food doesn’t have to be complicated to be full of FLAVOUR and I want to show you how. I’ve been a rigorous meal planner for over a decade whilst embracing seasonal ingredients (because that’s where the real flavour is!)
I’m also a dedicated dog mum to Nooch and Baxter and enjoy cooking them homemade treats (many of which are posted here) when I’m not screaming at the tennis or devouring fantasy fiction.
Latest recipes
Latest posts
All things spring - bright, fresh vegan meals and baked treats!
Configure your search
and I would like to see...
Or search for a recipe or post by keyword


Hello Sam and Phil,
first of all – I just love your blog!
The way you write about and present your creations (not to mention the products’ choice) reflects a love for life and good food that I really like.
I was so tempted by the pictures of this cheesecake that I took the first chance I had to try the recipe myself. The taste was great, all of my guests asked for a second piece of cake – but I really had troubles with the form… even if I put oven-paper on the bottom of the muffin moulds and some coconut oil on the sides, I couldn’t took the cheesecake off and had to wait until they were a little bit defrosted… this obviously messed up their shape.
What’s your secret to get such PERFECT looking cheesecakes??
Looking forward to get your reccomendations and propose a good looking version of them :):) THANKS!
Hi Anna!
Thank you so much for getting in touch and for such a lovely comment! ❤
So glad to hear you (and your guests!) enjoyed the cheesecake – I used a tin with a loose based bottom like this one. It’s like a muffin tin but the base is a small removable disc so you push up from the bottom. It makes removing the cheesecakes really easy. Before I bought this tin I did make some acai and blueberry cheesecakes in a muffin tin though with just a disc of parchment in the base. It was a non stick tin though and I found I didn’t need to grease the sides. It’s more difficult to remove than the loose bottomed tin but maybe try leaving the muffin tray out of the freezer for a few minutes then carefully running a sharp knife with a pointed tip round the top edge to loosen the cheesecakes. You could also try having a jug of hot/boiling water on hand to dip the knife in. Alternatively you could make one large cheesecake and cut into portions? Less cute though perhaps ?
Hope some of this helps, let me know how you get on and thank you again. Oh and don’t forget to tag us on social media (if you use it of course!) as we LOVE to see when people recreate our recipes! ?
Happy baking
~ Sam x