Posted in Recipes on 13.09.2017
How to Make Pastry
prep: 40 mins / cook: 0 mins / inactive: 0 mins / total: 40 mins / quantity: Lots of pastry! Print recipe?
There’s something about autumn that makes me want to bake, bake and bake some more. And what better to bake in autumn than pies – pies filled with spiced butternut squash and creamy goat’s cheese with pastry so tasty and crisp you could almost eat it fillingless (not gonna though ?) Or little picnic pies with broccoli and pesto!
But I know lots of people who are, dare I say it, terrified of making their own pastry. So I hope this post will help you be less afraid to give it a go because it’s so satisfying knowing that the thing you and your family is happily tucking into was completely made from scratch by YOU!
So let’s start with the ingredients. I generally only use 3 brands of flour – Homepride, Allinson and Doves Farm. Why? Well Homepride simply because it was the first brand of flour I ever used waaaay back in the day on one of those rare occasions I convinced Mum that baking was a good thing … not the thing she often got wrong and made her all sweaty and irritable! And Fred has been with me since child to adult, helping me make great pastry! They also use 100% British wheat. Allinson because their range of flours is much bigger than Homepride and makes perfect bread Every. Single. Time. And Dove’s Farm because of their fantastic organic range and the less ‘usual’ flours like spelt, rye and buckwheat.
For this recipe I’m using wholemeal flour – it hasn’t been stripped of the nutrients and fibre naturally found in wheat and so offers a much more nutritious alternative to white flour. It also has more iron, calcium, protein and other nutrients.
I also use butter for flavour and for a light, short pastry. The butter MUST be cold. Cold butter creates steam as it’s baking which then expands the layers of dough creating that delectably light and flaky pastry.
A pinch of salt also adds flavour.
And lastly COLD water – this helps keep the fat cold while your mixing, rolling and shaping your dough.
Ok, got all your ingredients ready?
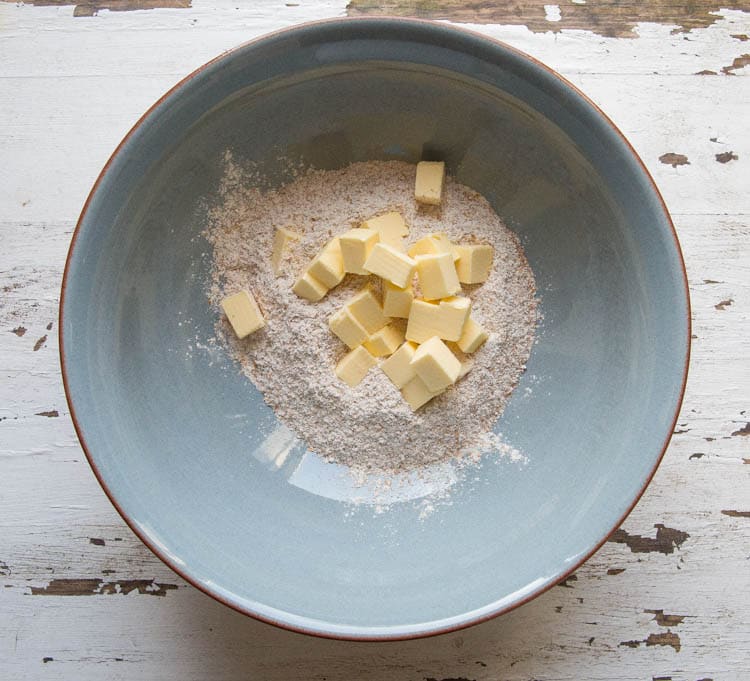
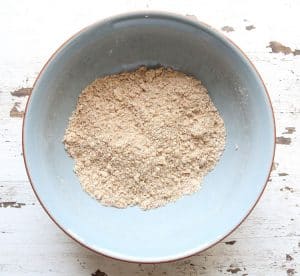
Tip the flour, diced butter and salt into a large bowl. The large bowl means that you can lift and aerate while you’re rubbing the butter into the flour. To rub in take the pieces of butter between your fingertips and lightly and quickly rub the flour and butter together
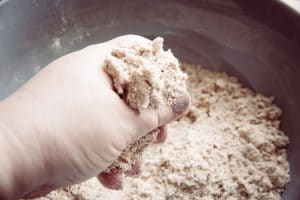
Do this until all the large lumps of butter have been evenly dispersed and you are left with what looks like fine breadcrumbs or sand
Then you add your cold water. Whatever the recipe states add just slightly less – often flour reacts differently each time you make it based on several factors: you’re using a different brand, age of the flour, storage conditions, flour in other countries may vary in processing and content.
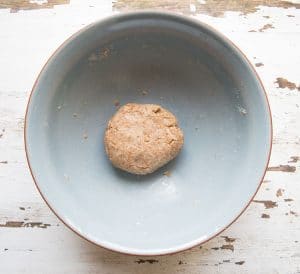
However, no matter what recipe you’re using, when making short or sweet crust pastry you always ALWAYS want to be working as quickly and lightly as possible. Wheat flour contains something called gluten and the amount of gluten content in different flours varies greatly dependent on type. Gluten is a natural protein that occurs in wheat which, when combined with water and then mixed or kneaded, makes the glutens literally stretch out the proteins to make longer and longer chains. It’s the stretching that makes different doughs more or less ‘elastic’. For short or sweet crust pastry you want to stretch the gluten as little as possible – so once you add the water knead the dough only until it comes together to form a ball. Overworking the dough will result in tough, chewy pastry rather than that crisp, melt-in-the-mouth flaky pastry we’re striving for.
Making bread and using strong flour is a whole other story – which incidentally you can read about right here ?
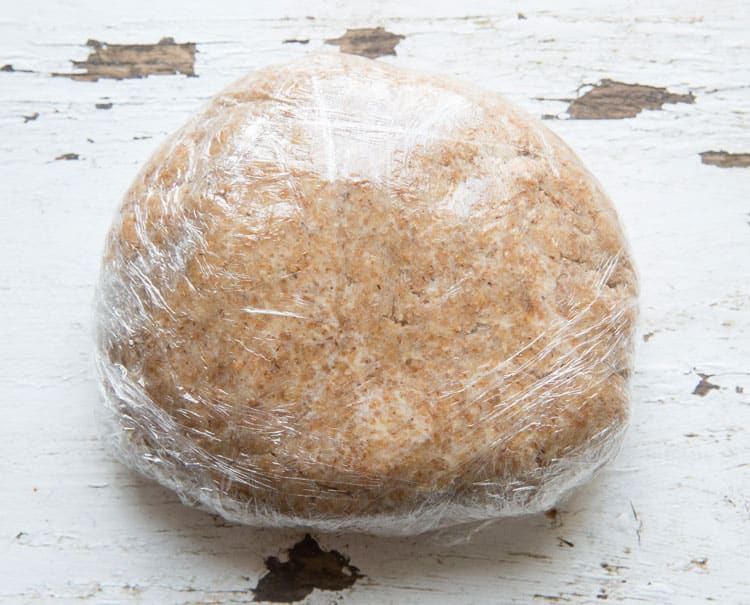
Once you’ve added the water and made your lovely light ball of pastry wrap it in cling film and leave to rest in the fridge for a minimum of 30 minutes. This allows any gluten chains that were formed to relax and means your dough will shrink less when baking – this is particularly important when using the pastry to line a tart or pie tin – you don’t want the dough to shrink back during cooking as that might leave you with a very shallow tart if you’re blind baking first or any filling to overspill.
You can of course leave your dough even longer in the fridge or even freeze it at this point. Just remember you’re using fresh ingredients and it will eventually go mouldy if left in the fridge indefinitely!
Once your dough is rested lightly flour your work surface and using a large rolling pin push down on the dough from the centre and roll out as evenly as possible in all directions, turning the dough round a few degrees after each couple of rolls. This helps with even rolling and helps prevent the dough sticking to your surface. Add a light dust of some more flour underneath the dough or to your pin if this is starting to happen.
What you do with your dough next is entirely dependent on what you’re making – lining a pie or tart tin, making homemade pasties, hand pies, picnic pies, poptarts … whatever you’re making in the end simply remember these few simple steps … HAPPY BAKING ?
If you make this recipe or any of the recipes from The Cook & Him we’d LOVE to see! Just snap a picture and share it on Instagram using #thecookandhim and tagging @thecookandhim in the photo itself (as this guarantees we’ll see your picture!
And don’t forget to follow us on Instagram , Facebook or Twitter for even more recipe inspiration and chat, competitions, behind the scenes and so much more!
How to Make Pastry
prep: 40 mins / cook: 0 mins / inactive: 0 mins / total: 40 mins / quantity: Lots of pastry!
Ingredients
- 250g wholemeal flour
- 110g chilled butter – diced
- Pinch salt
- 4-6 tblsp cold water
Instructions
- Tip the flour into a large bowl and add the diced butter and salt. Using your finger tips ‘rub’ the butter into the flour until the mixture resembles fine breadcrumbs and you no longer have any large lumps of unmixed butter
- Add 3-4 tblsp of cold water and work gently to bring the mixture together to form a dough, adding more water if needed. Try not to knead the dough too much as this is what makes it tough once cooked
- Once you have the dough formed, flatten it into an oval disc, wrap in cling-film and put in the fridge for at least 30 minutes or overnight
- At this stage you can also freeze your pastry - simply defrost overnight in your fridge
Notes
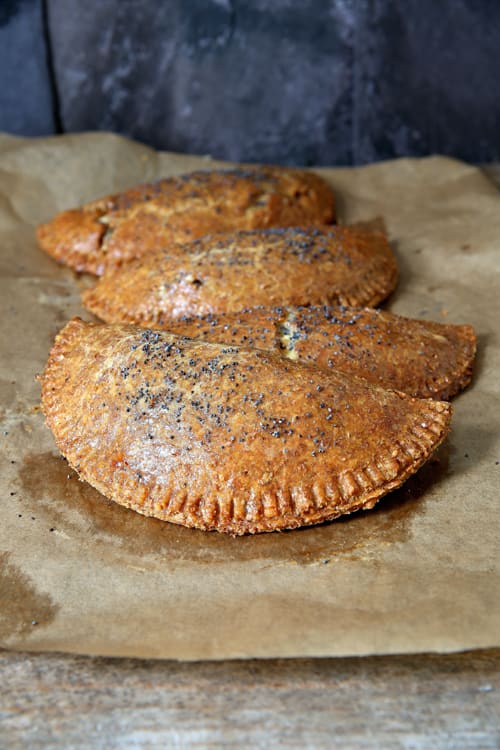
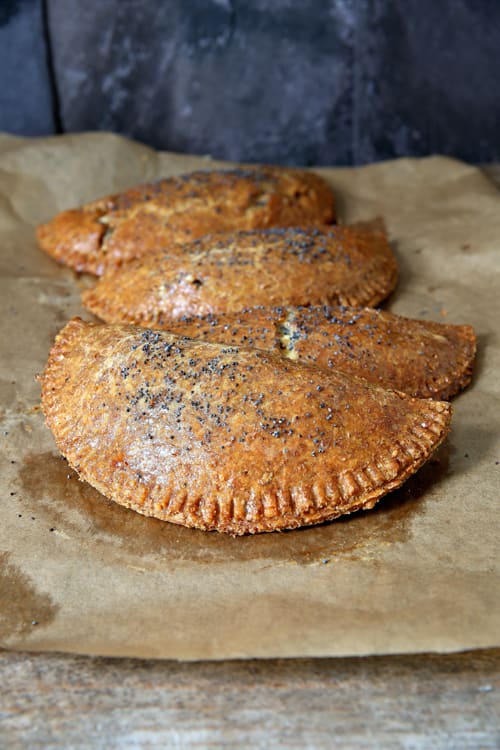
- Add some sharp cheddar and paprika to your pasty base to make these Butternut Squash & Goat's Cheese Pasties
Leave a Comment
Leave a Reply

Hello there! I’m Sam, former Michelin star pastry chef and now your go-to vegan foodie on a mission to make plant-based eating a deliciously easy adventure! From cozy comfort foods to vibrant salads and decadent desserts, there’s something for everyone in my kitchen.
Whether you’re cooking for one or for a houseful I believe food doesn’t have to be complicated to be full of FLAVOUR and I want to show you how. I’ve been a rigorous meal planner for over a decade whilst embracing seasonal ingredients (because that’s where the real flavour is!)
I’m also a dedicated dog mum to Nooch and Baxter and enjoy cooking them homemade treats (many of which are posted here) when I’m not screaming at the tennis or devouring fantasy fiction.
Latest recipes
All things autumn - warming soups, savoury bakes and delicious sweet treats!
Configure your search
and I would like to see...
Or search for a recipe or post by keyword


[…] For a complete guide to pastry basics here’s my post on how to make sure you get perfect pastry every time. […]
[…] you’re a bit intimidated by making pastry don’t be. I’ve taken your hand and guided you through here. For these pies you want the pastry to be about the thickness of a £1 […]
[…] dough doesn’t have the same smooth consistency as normal pastry dough. Though to be honest, the dogs really don’t care if it has that super flaky texture us humans […]
[…] have a step by step guide to making pastry here – the ingredients are the different but the principle and method is exactly the same […]